Laser Cut Coaster
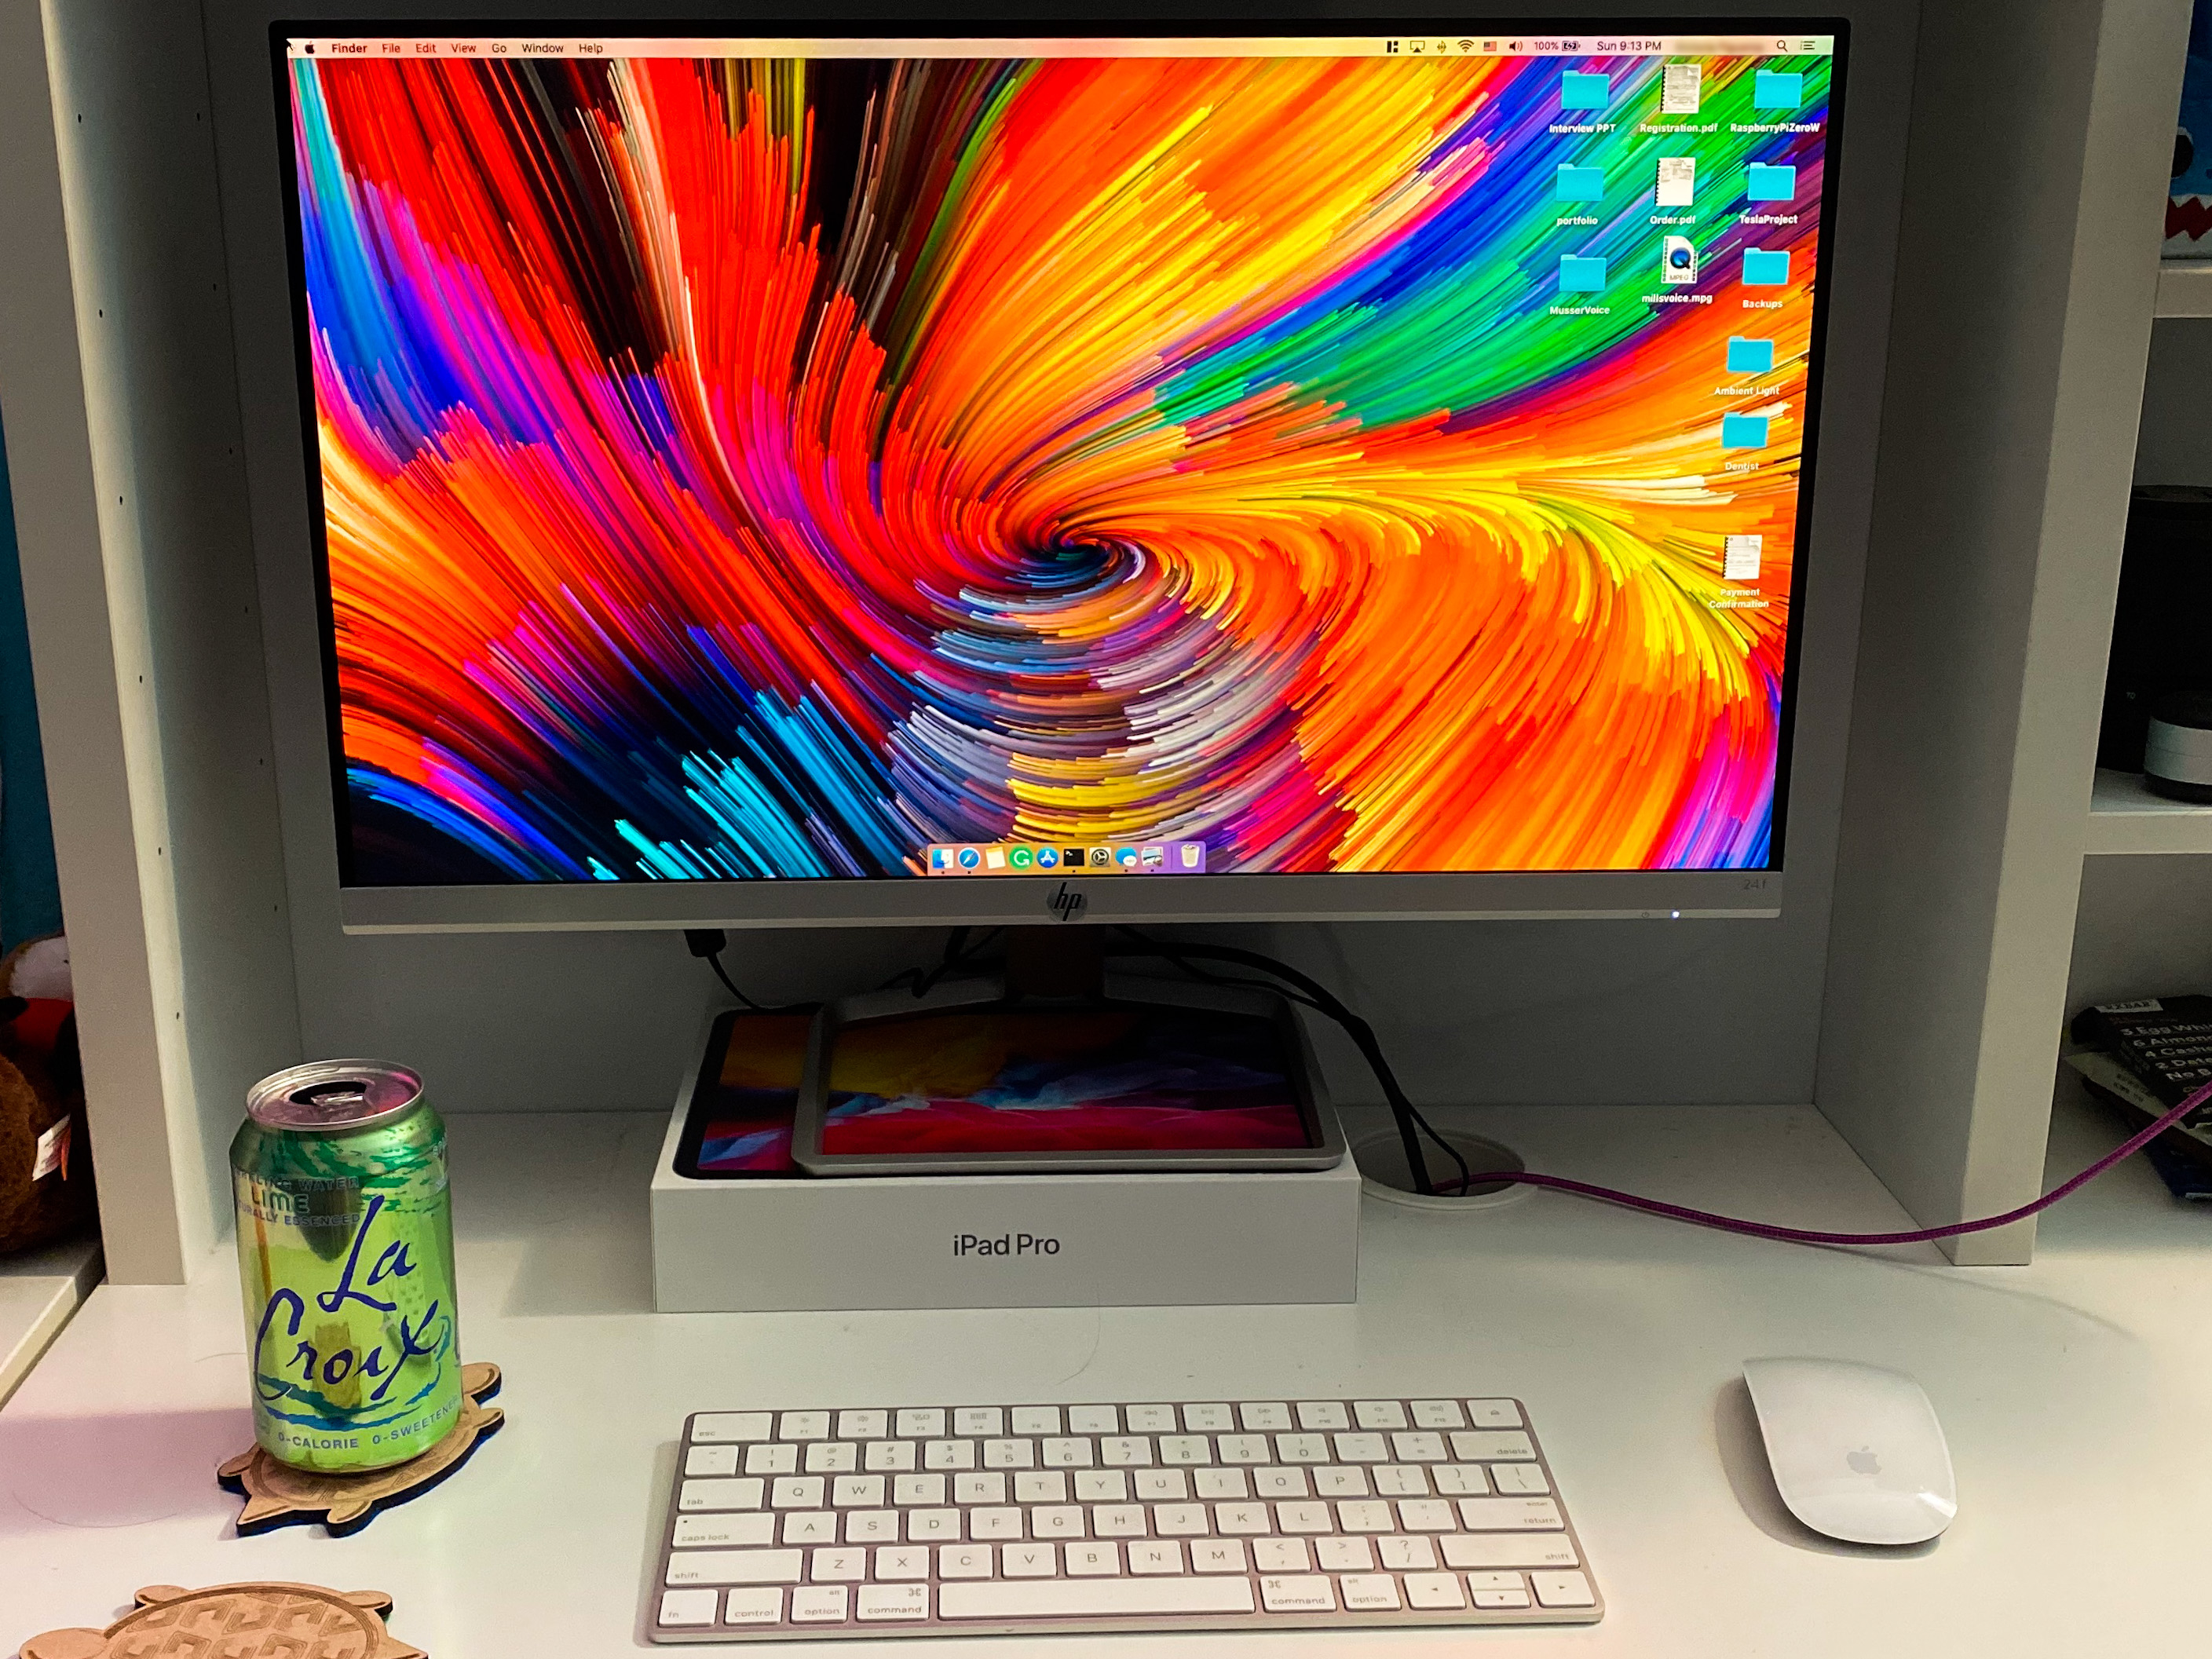
Lately, I've wanted to have a coaster at my desk, one of those things typically found in every house but mine.
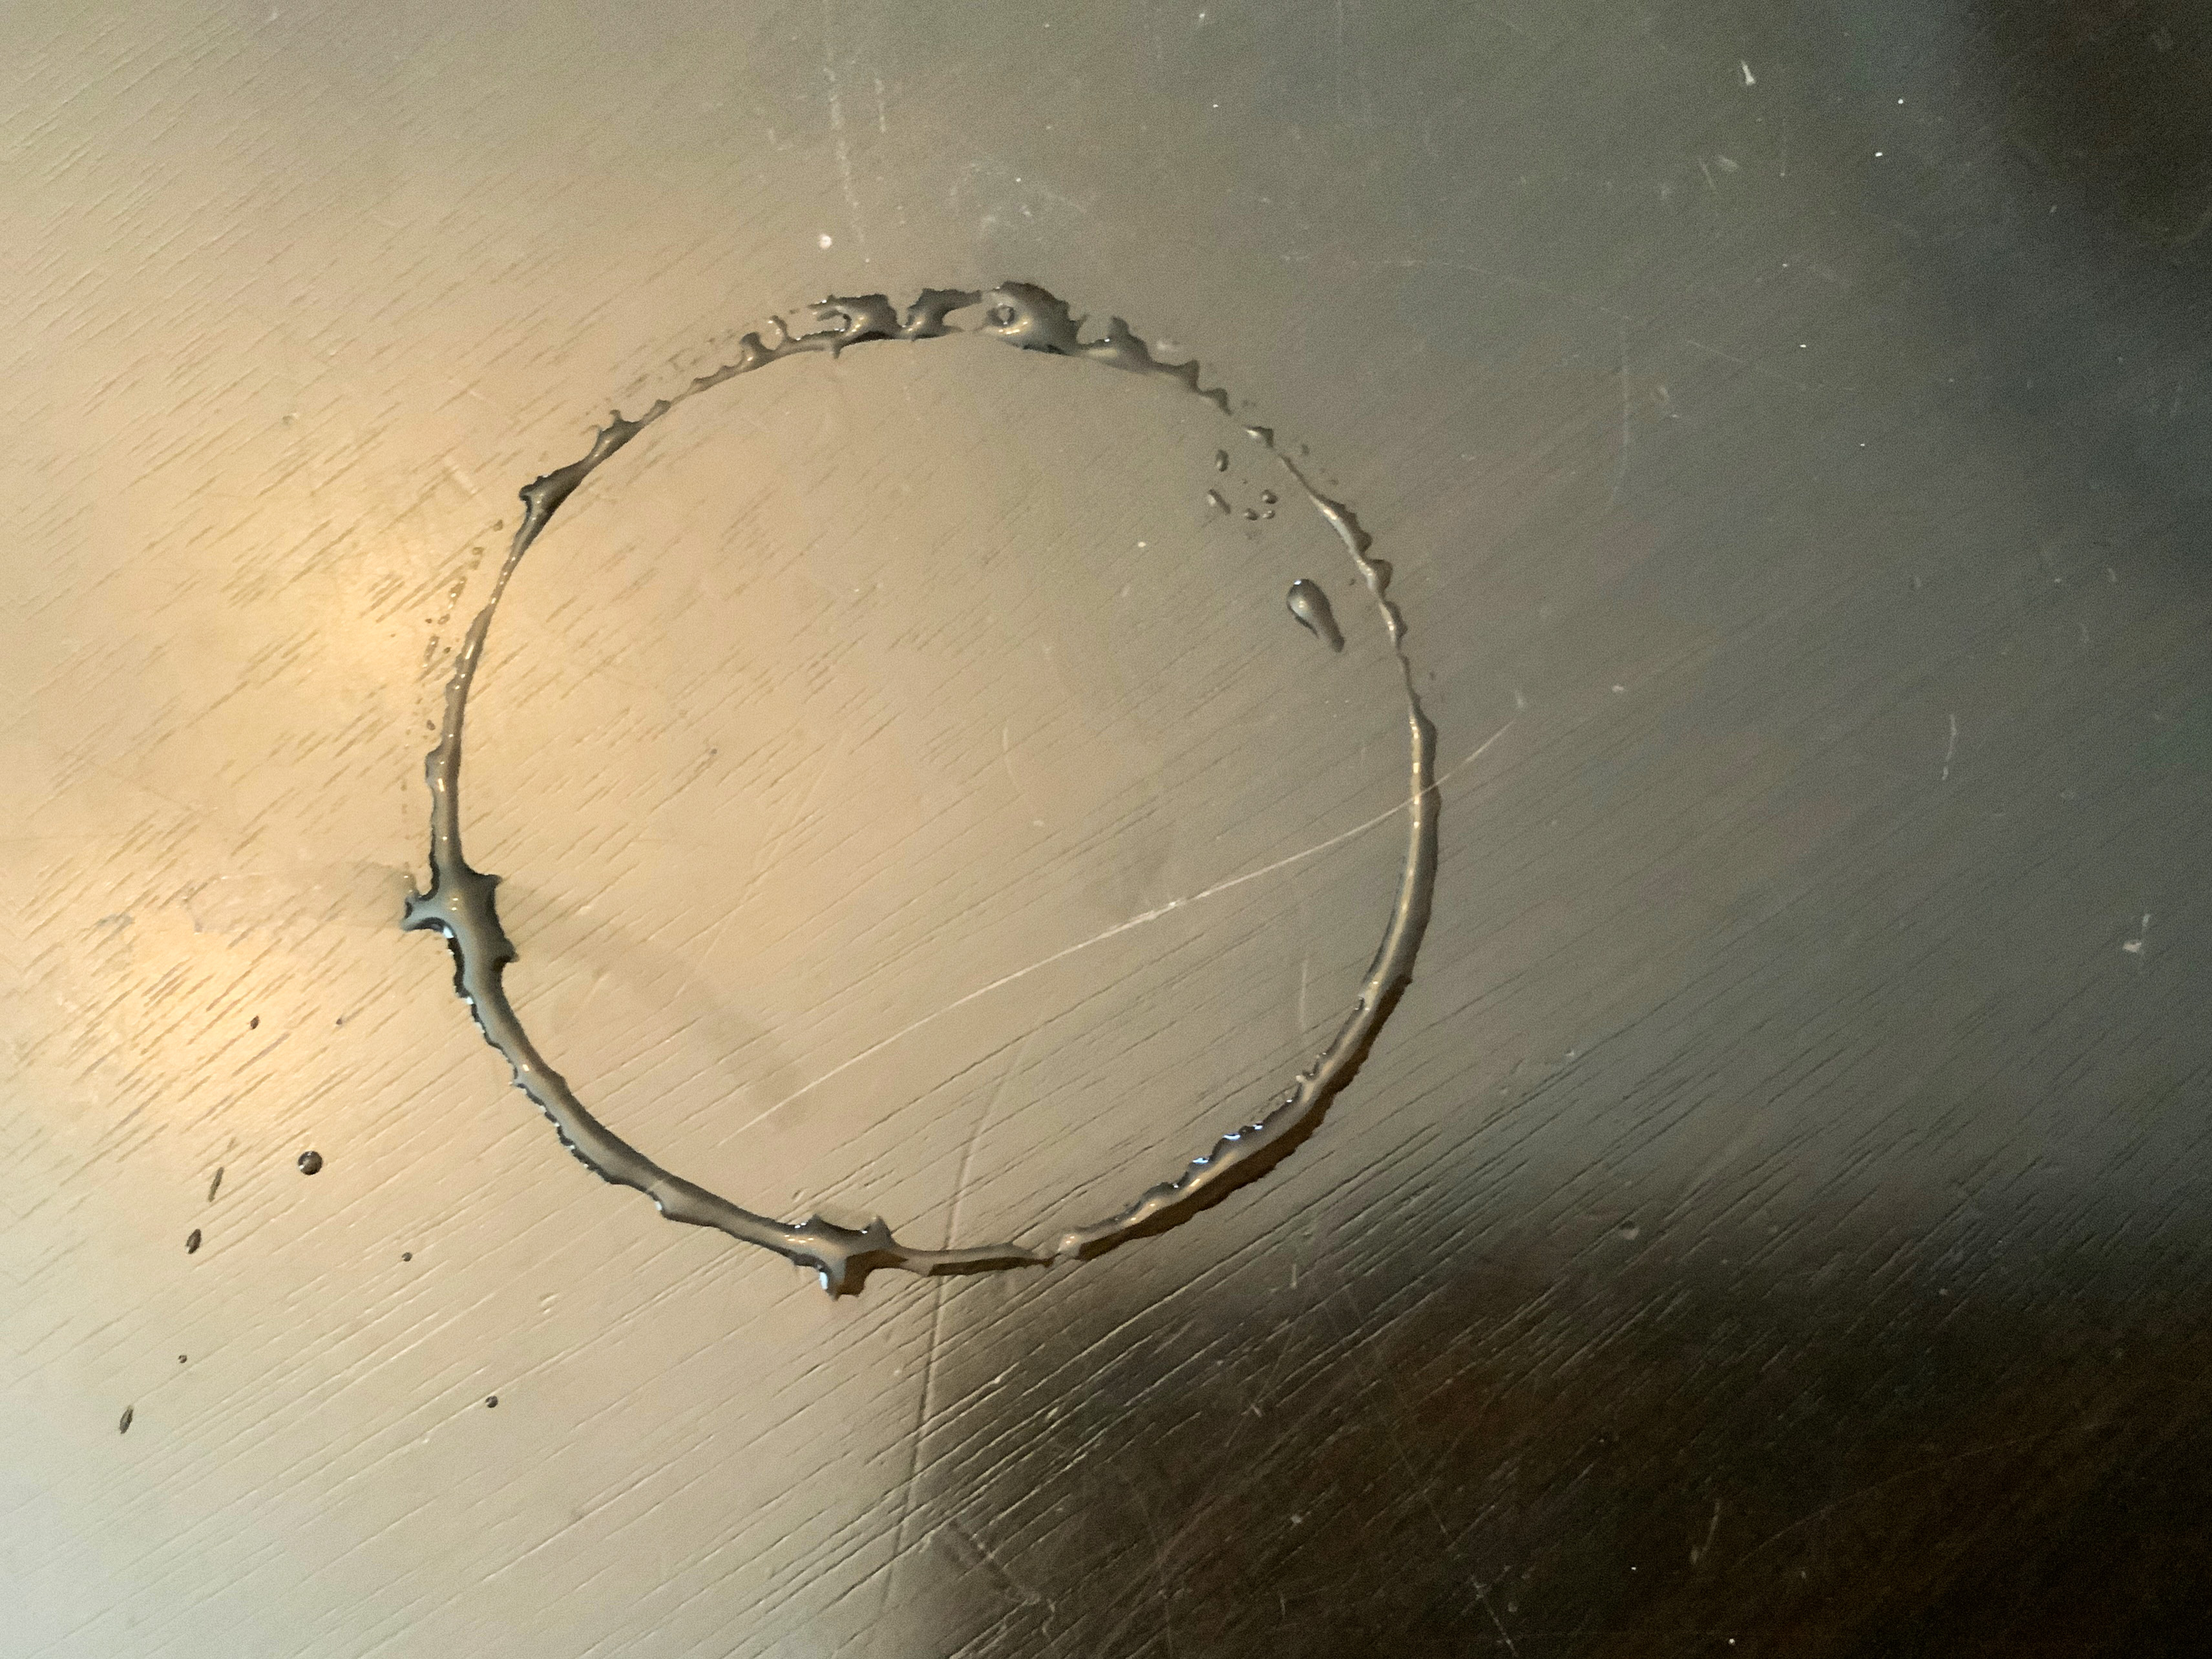
Because of the shelter-in-place order, I've been spending more time in front of the computer at home, like most people. Every time I'm enjoying a cold drink, well, we all know that a pesky water spot magically appears on the desk, thanks to the condensation in the glass.
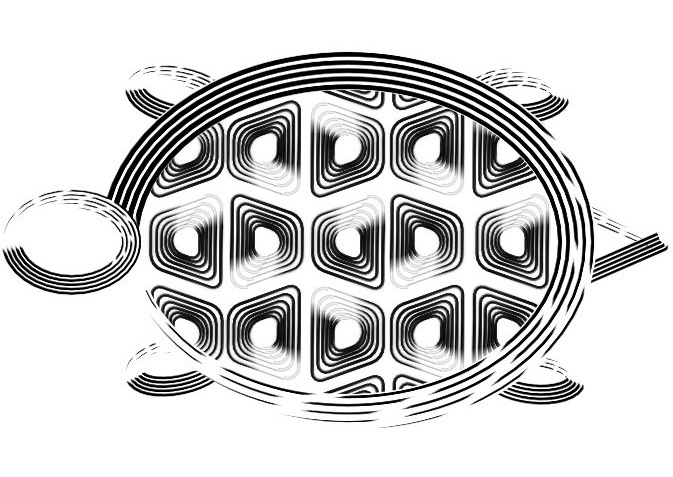
I started learning vector graphic illustration using Affinity Designer on the iPad Pro. As part of an online course, I designed a Southwestern-inspired Turtle. I said to myself, this is an great design to make into a coaster, and here I am.
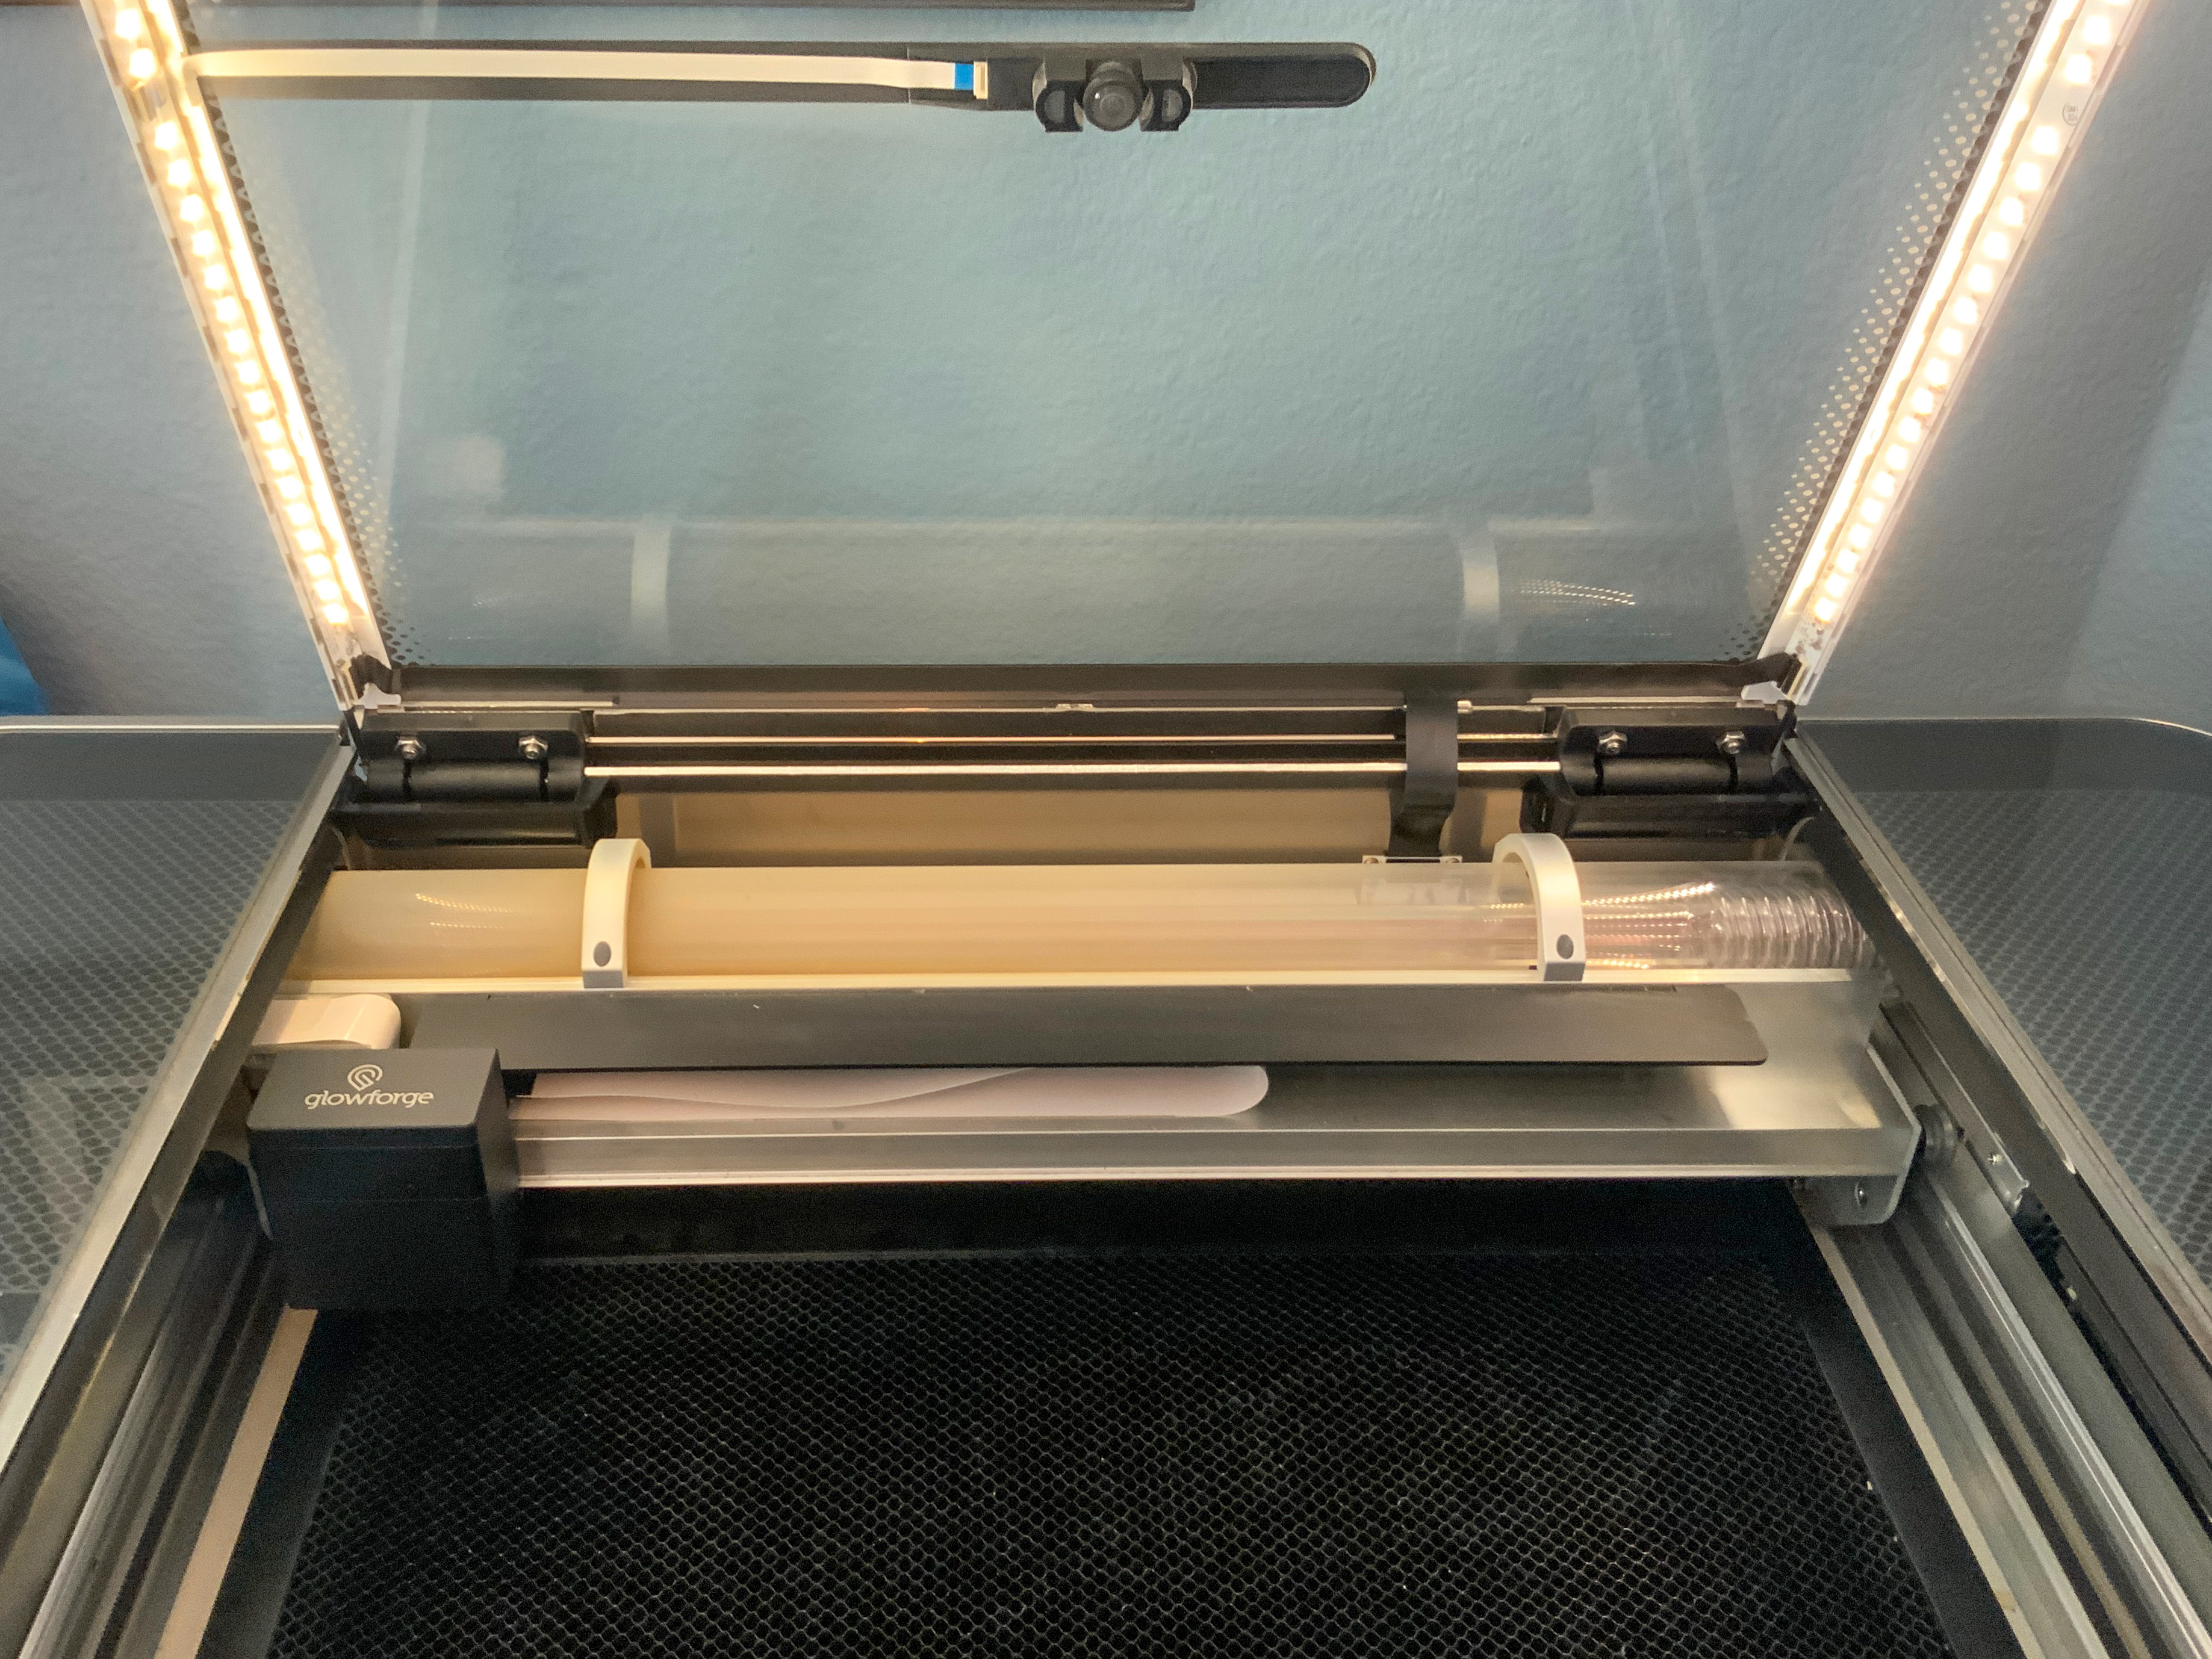
I started with vector graphics mainly because I wanted to start using the Glowforge I have at home more often. For the past year and a half, I think I have only used it for two or three things, with designs I found online, and that needed to change.
First.
I needed to measure the glass diameter I like to use the most, a regular size Mason Jar. I used a pair of calipers and created a 60 mm diameter circle in the turtle design.
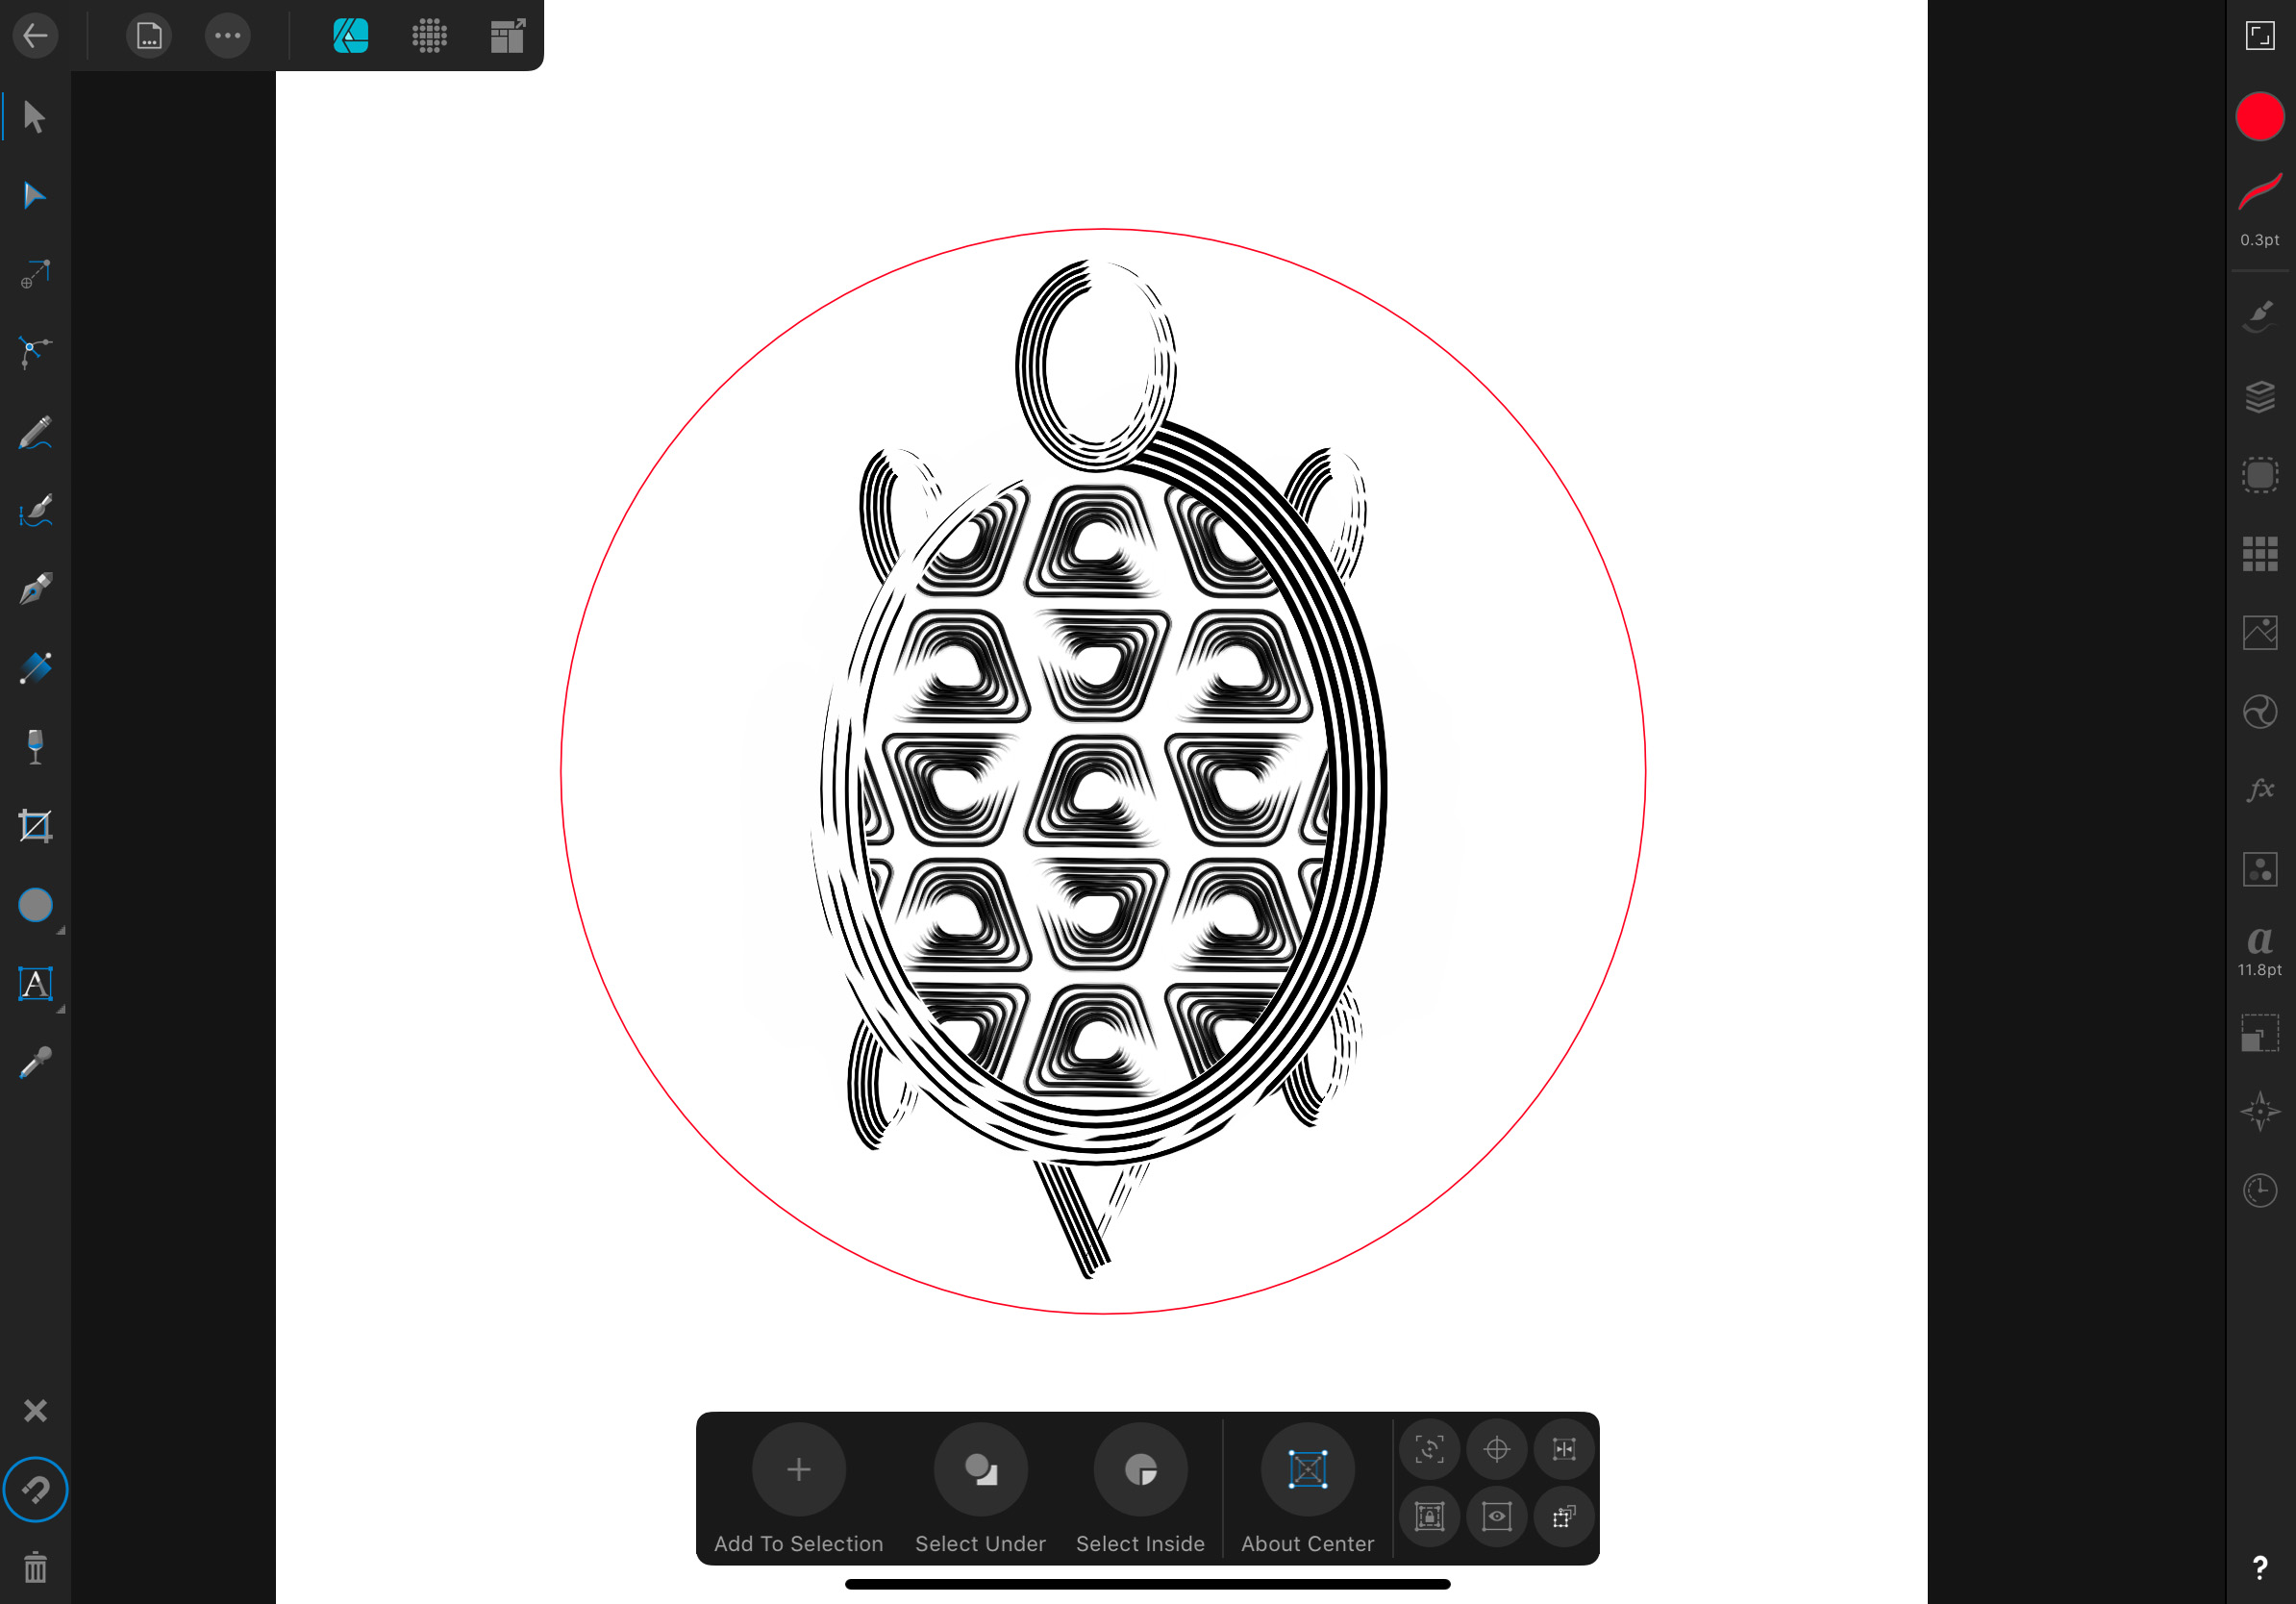
I made the turtle shell the same size as the circle as I wanted the coaster to be with the turtle shape and not inside the circle.
Second.
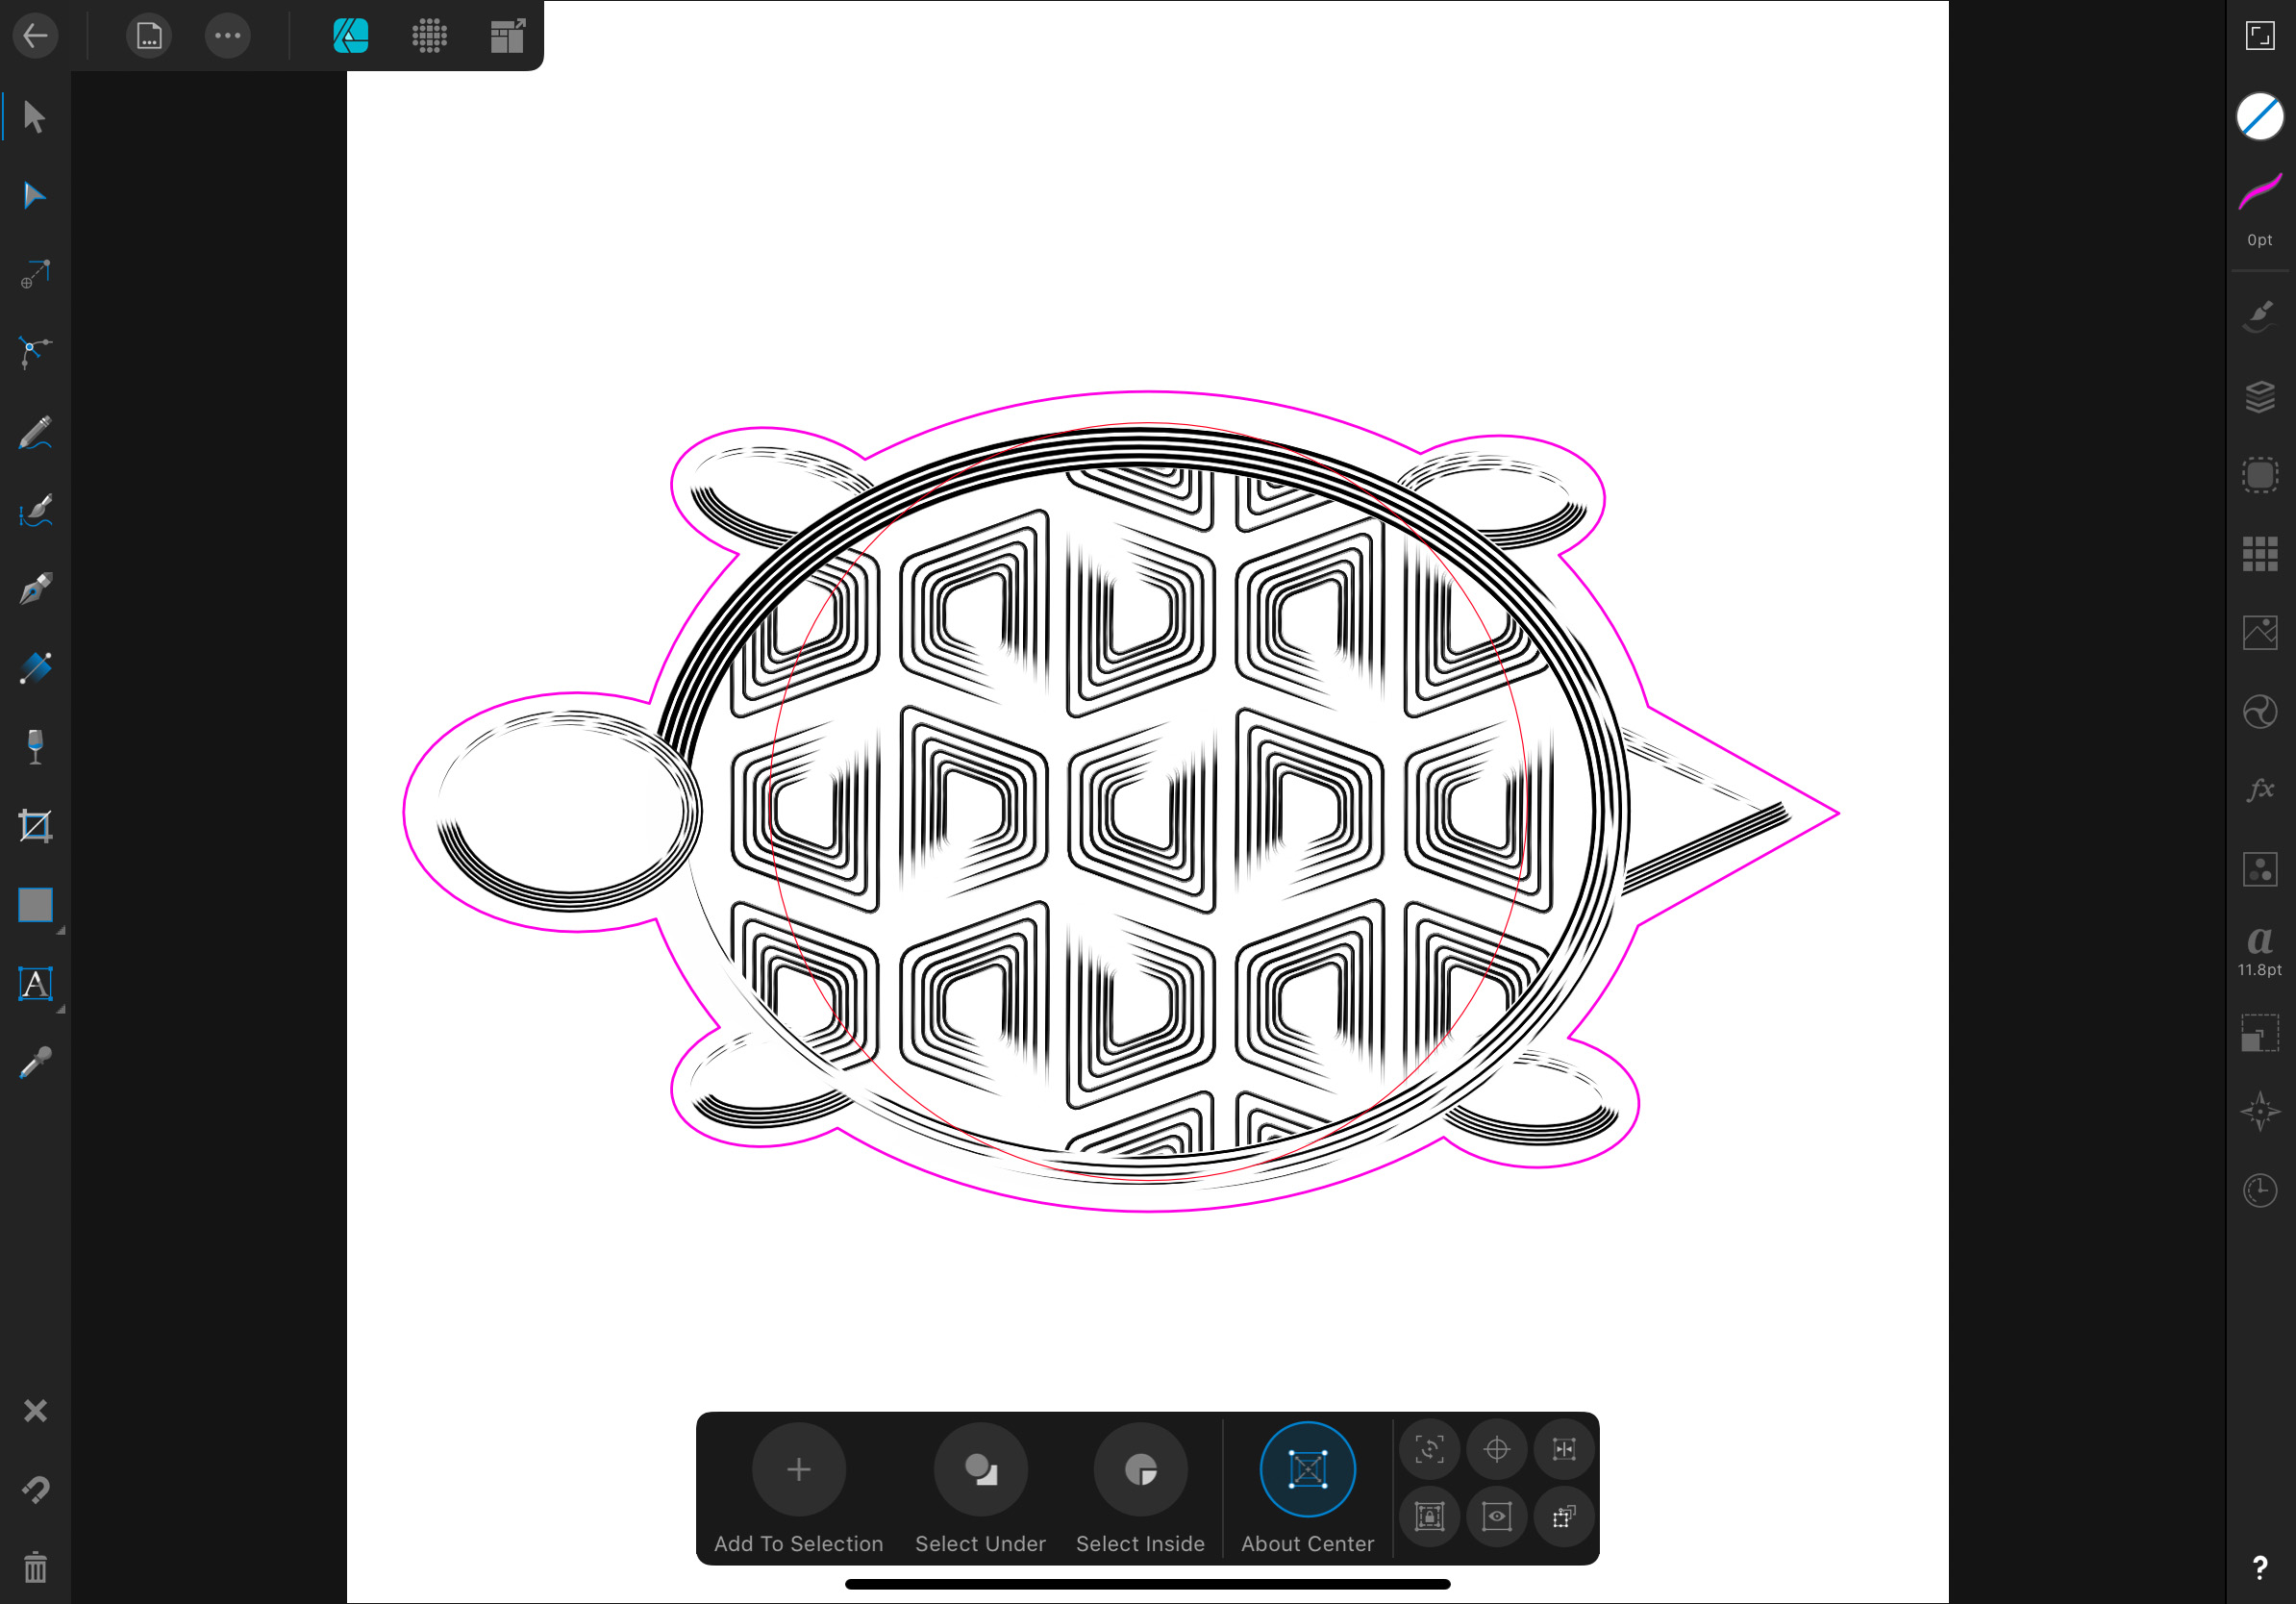
I created the outline of the coaster. For this time, I redrew the outline using multiple shapes and then added them together.
Third.
I modified the outline and the inside to have the right settings for the Glowforge.
- The outline as a single color with no infill
- Rasterized the turtle image
- Exported it as SVG
Then I uploaded the file to the Glowforge app and verified everything looked correct.
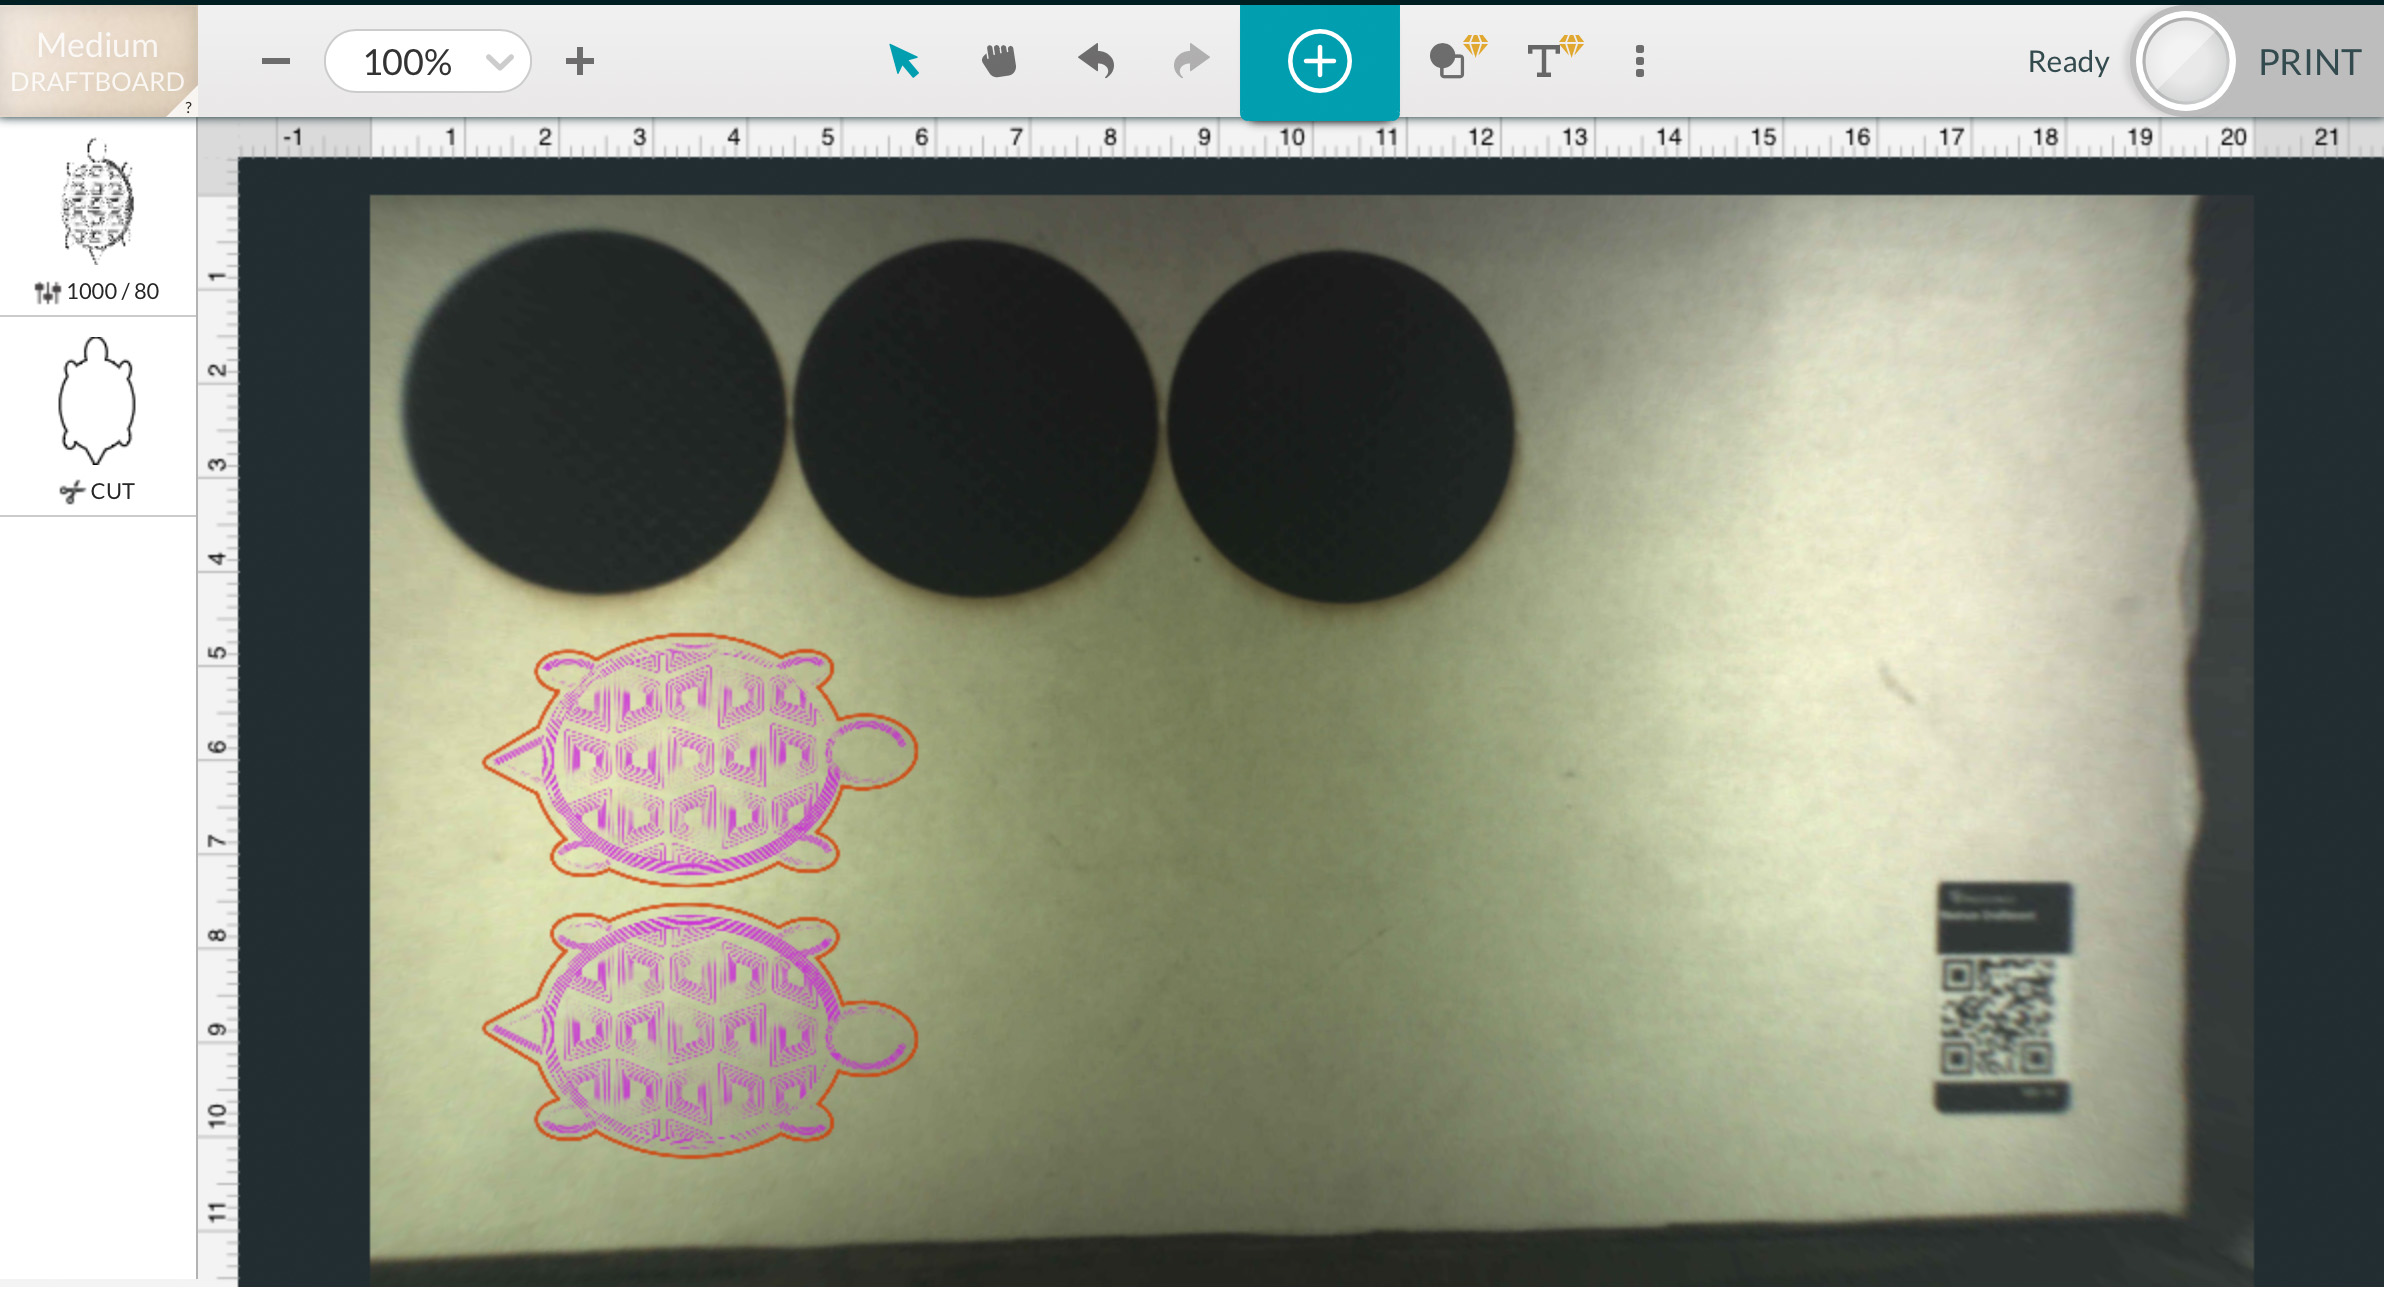
Fourth
Set the settings on the Glowforge, and made a scaled-down prototype.
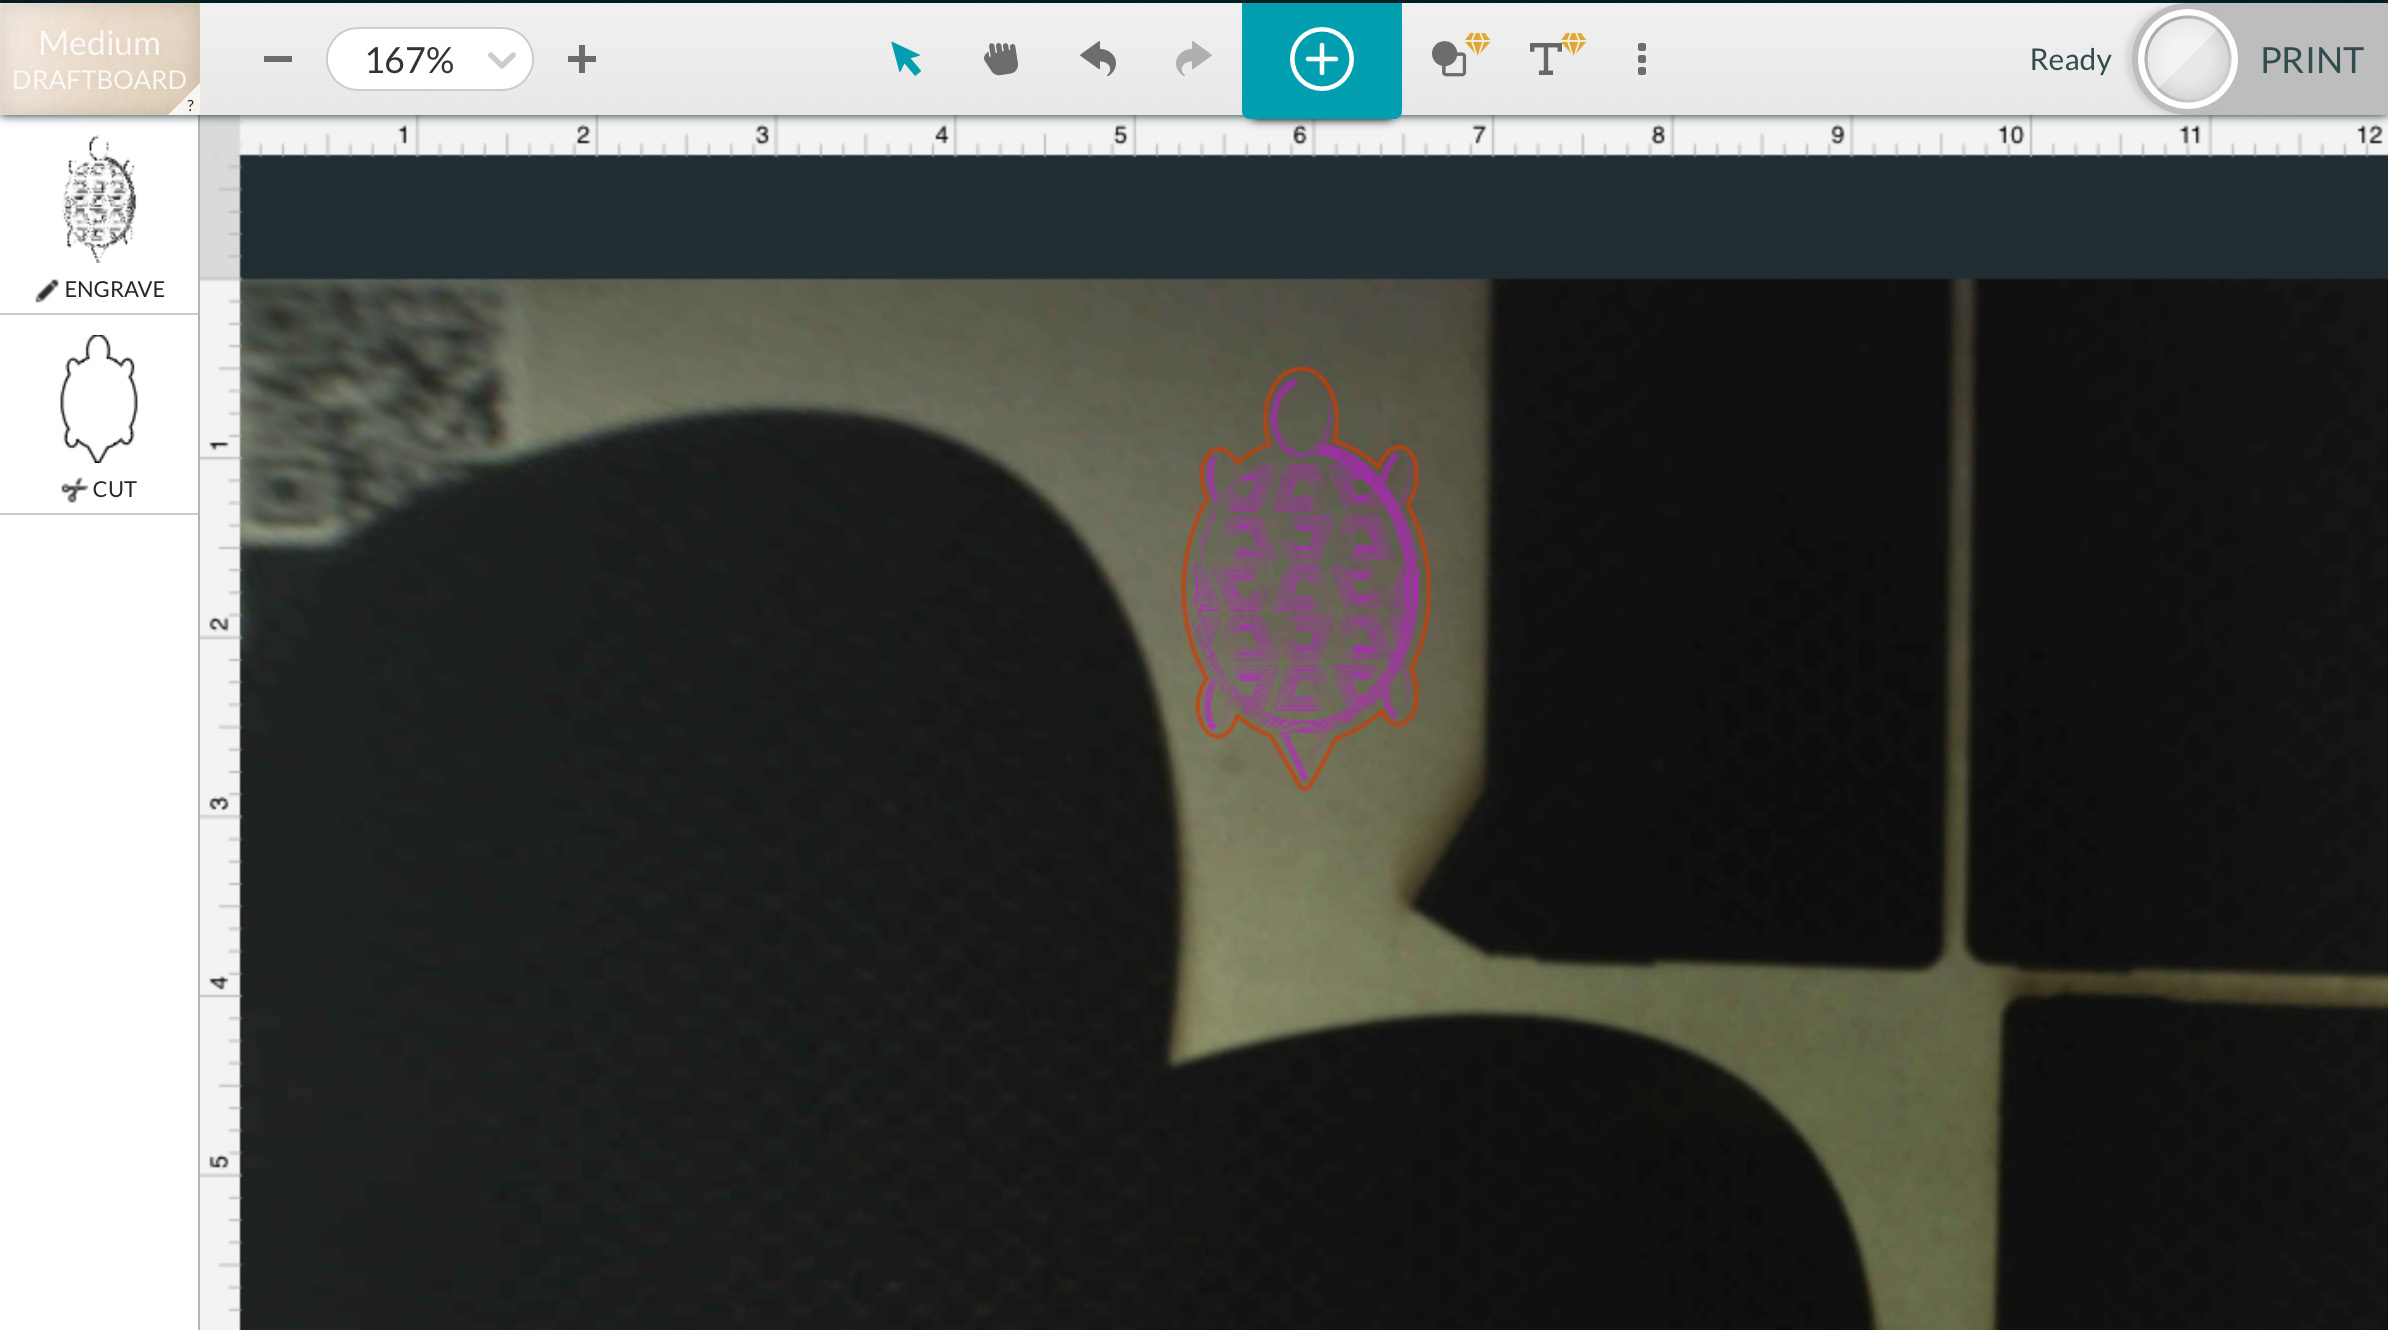
... and after 4:33 min, I got this.
I forgot to compensate for the machine's offset, and the bottom right leg did not come out well.
Fifth
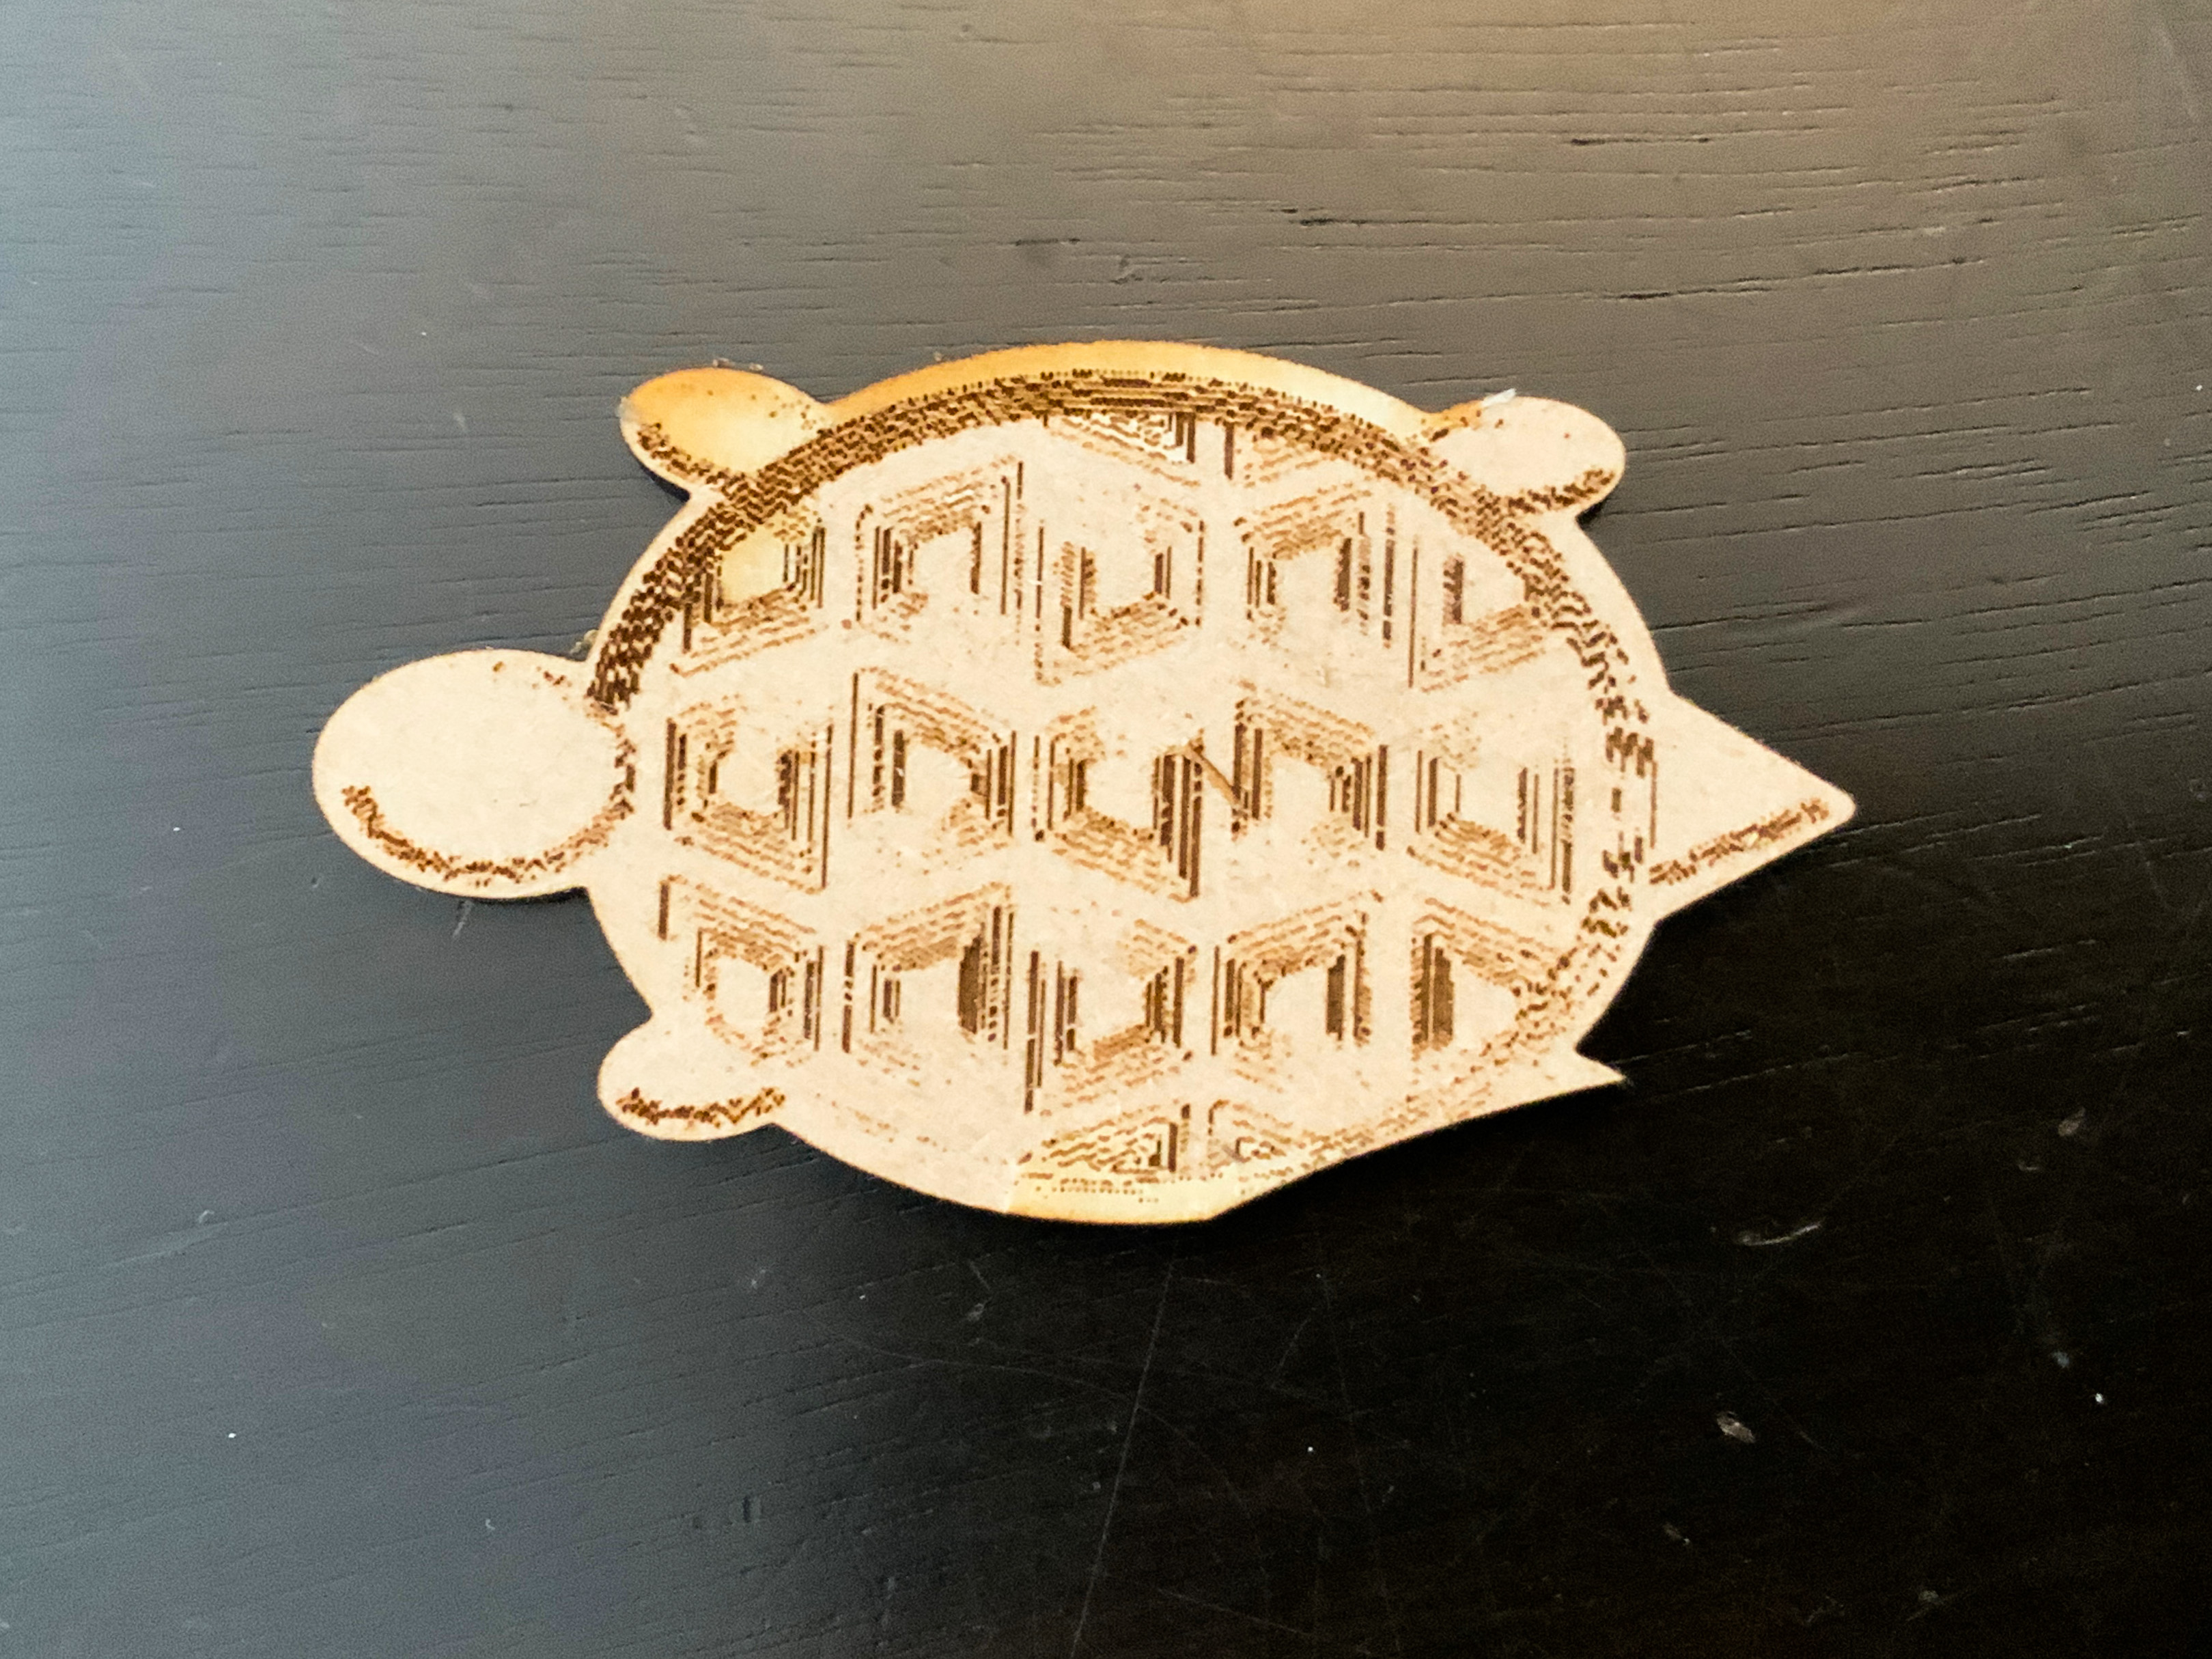
- Placed new material, with more space for the coaster
- Scaled the job to its nominal dimension
- Changed the settings of the raster (the turtle image) to try to get a better print
- Prepared
- Print!!!
This time the turtle image came out much better than with the prototype.
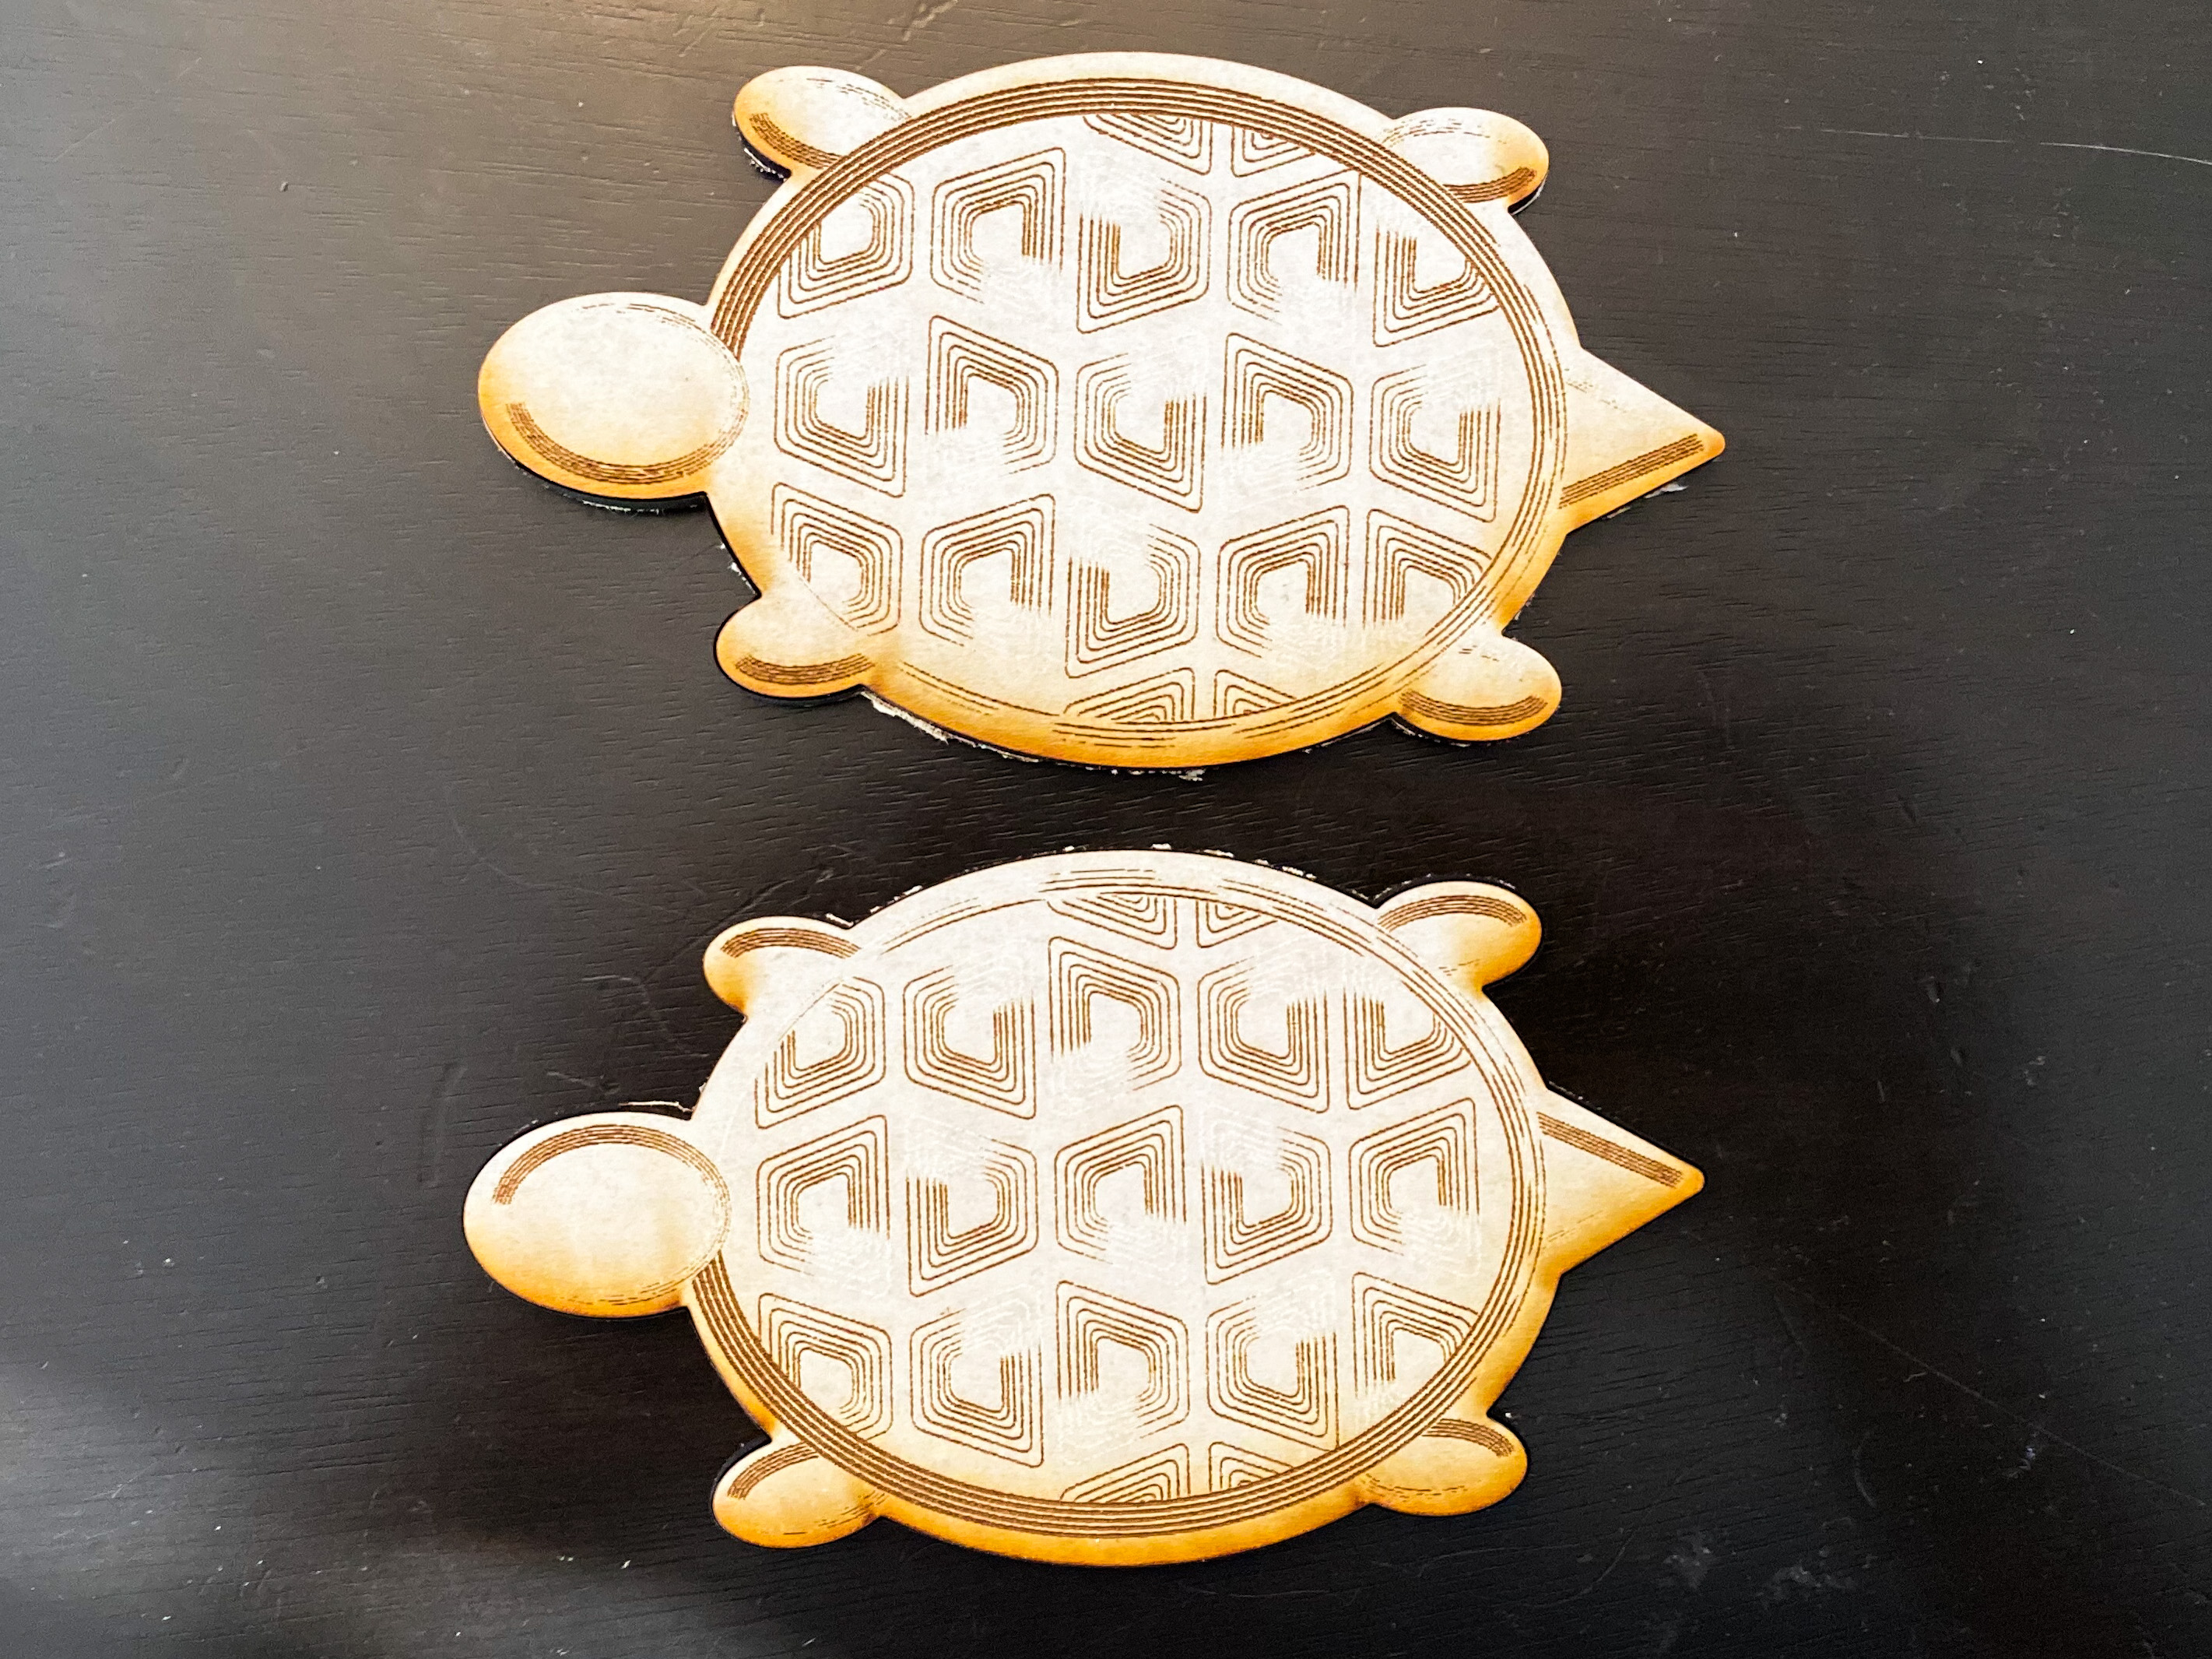
Sixth
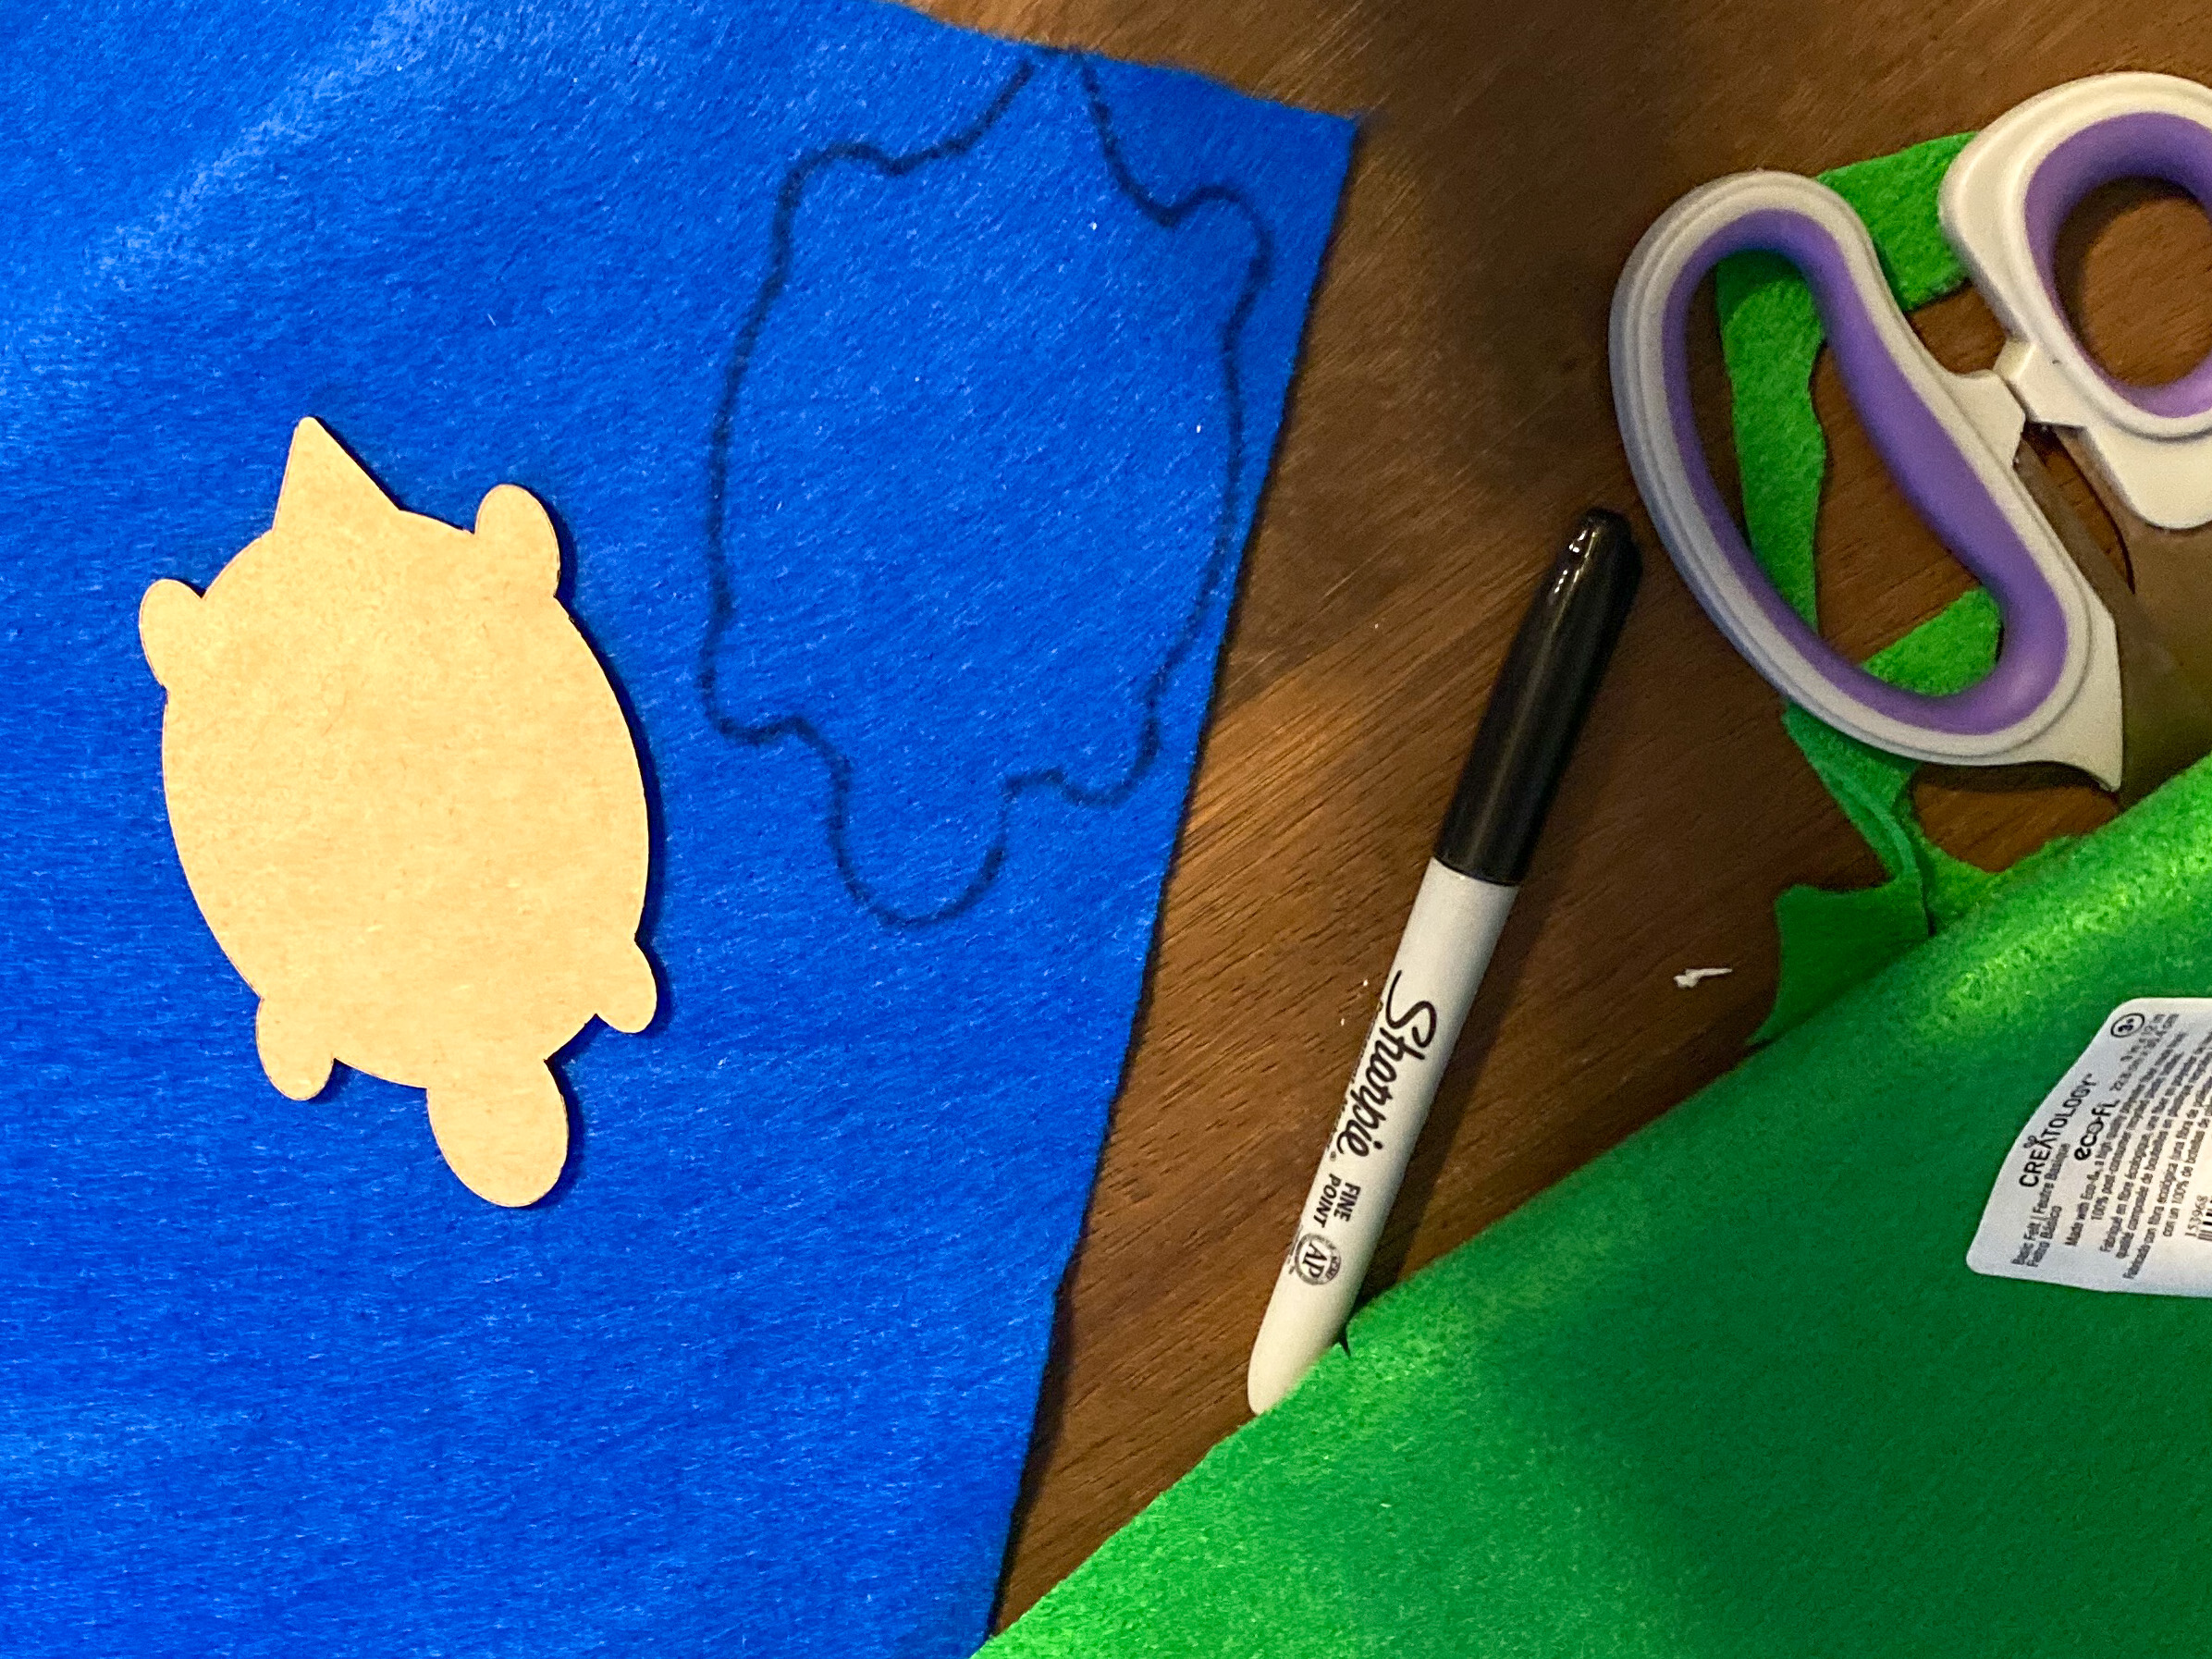
Cut and glued the felt to the bottom of the coaster.
Seventh
Enjoy it!